2026-01-23 Jetson Assembly Log
Warning
This page is translated by LLM and may contain some inaccuracies. 中文版 (Chinese Version)
This document records the process of replacing the Jetson Orin SOM (GPU) during 2026/01/19~21, and reproduces the earlier SSD installation record.
Background
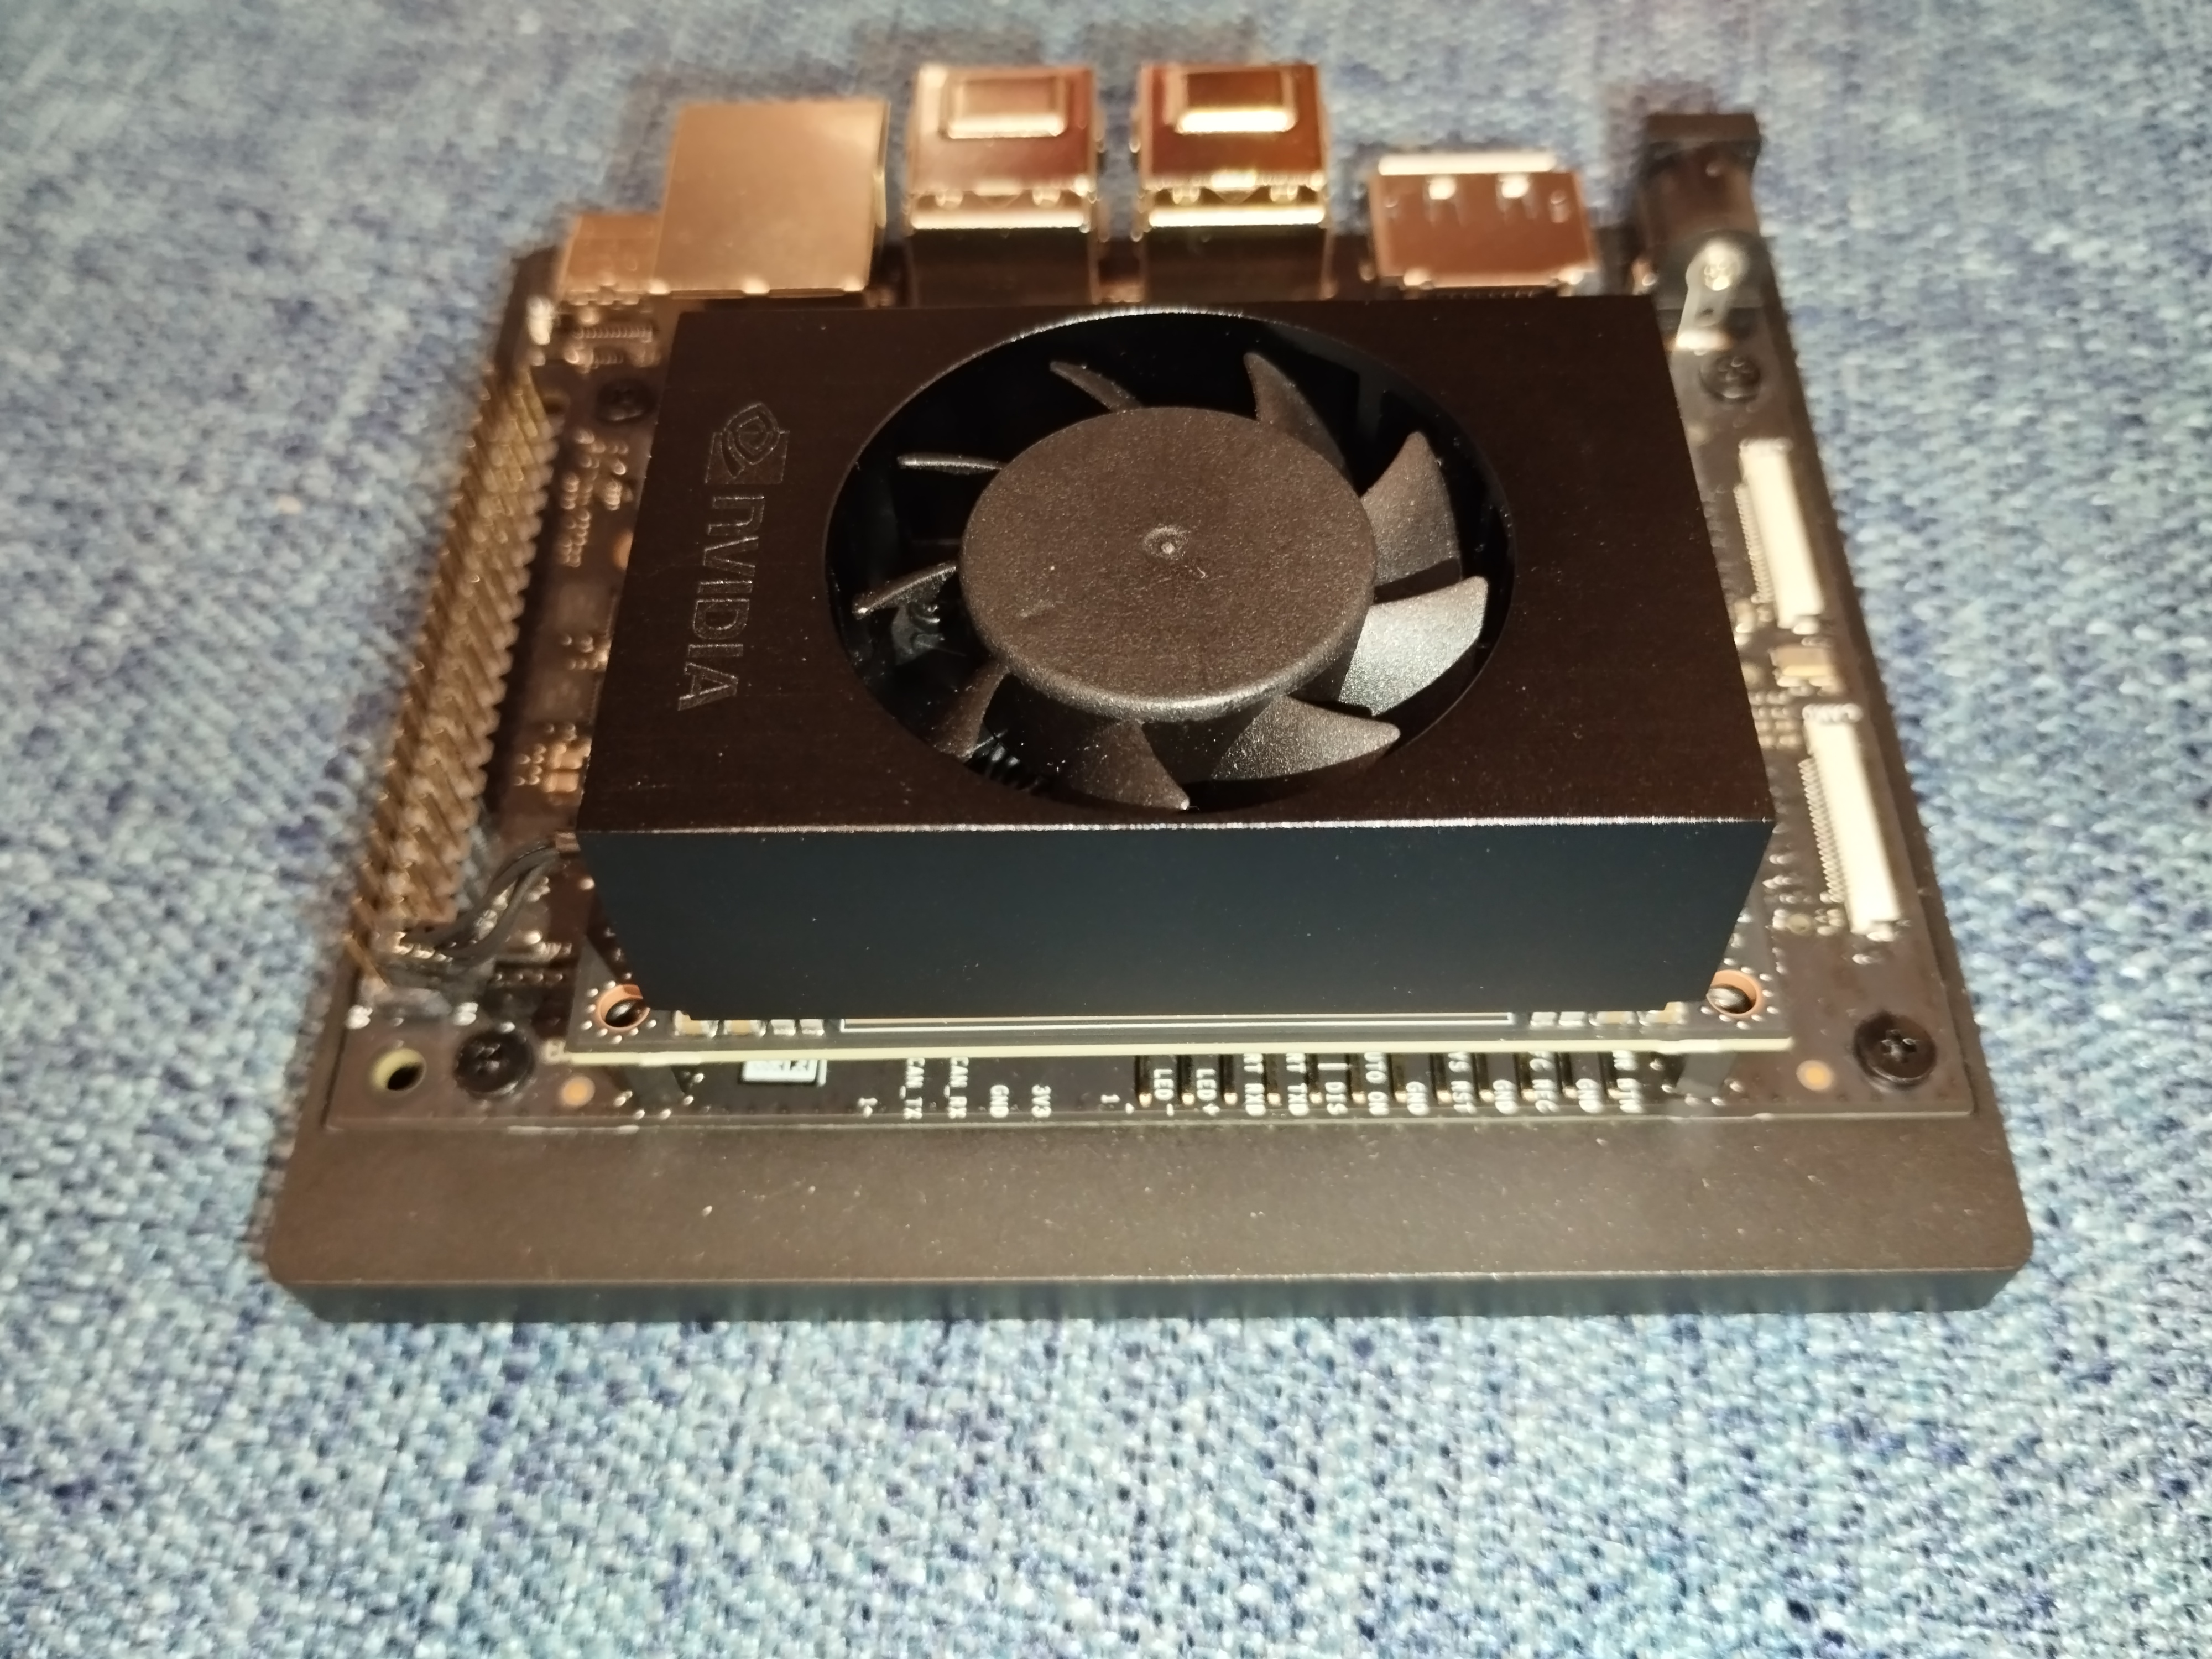
The official ToddlerBot design uses the reComputer J4012. However, due to national security regulations, it is difficult for our university to purchase ICT products from mainland Chinese companies/factories. Therefore, we opted for the Nvidia Jetson Orin Nano Super Developer Kit and manually replaced the module with a Jetson Orin NX 16GB.
Hardware References
Based on the following reasons:
Jetson Orin Nano Super DevKit Carrier Board is compatible with Jetson Orin NX: Nvidia Forum
Carrier Board dimensions are 100 x 79 x 21mm: Carrier Board Spec
reComputer J4012 has similar layout and dimensions: reComputer Open Source Hardware Repo
We purchased this alternative solution:
Jetson Orin NX 16GB SOM (USD $699): Arrow
900-13767-0000-001 and 900-13767-0000-000 are basically identical, likely just different batches.
Jetson Orin Nano Super DevKit (USD $249): Arrow
945-13766-0000-000, 945-13766-0000-005, 945-13766-0000-007 seem identical.
No need to buy M.2 CB375NF Wifi Card as DevKit comes pre-installed.
WD BLACK SN7100 500G Gen4 NVMe SSD (WDS500G4X0E) (~USD $49)
reComputer comes with 128GB, so buy at least this capacity.
PTM7950 0.25mm Phase Change Thermal Pad, cut to approx 22 x 20mm (~USD $13).
SSD Installation
Preparation
Please prepare:
A PH1 Phillips screwdriver.
The M.2 PCIe SSD to be installed.
Assembly Process
It’s simple, just 3 steps:
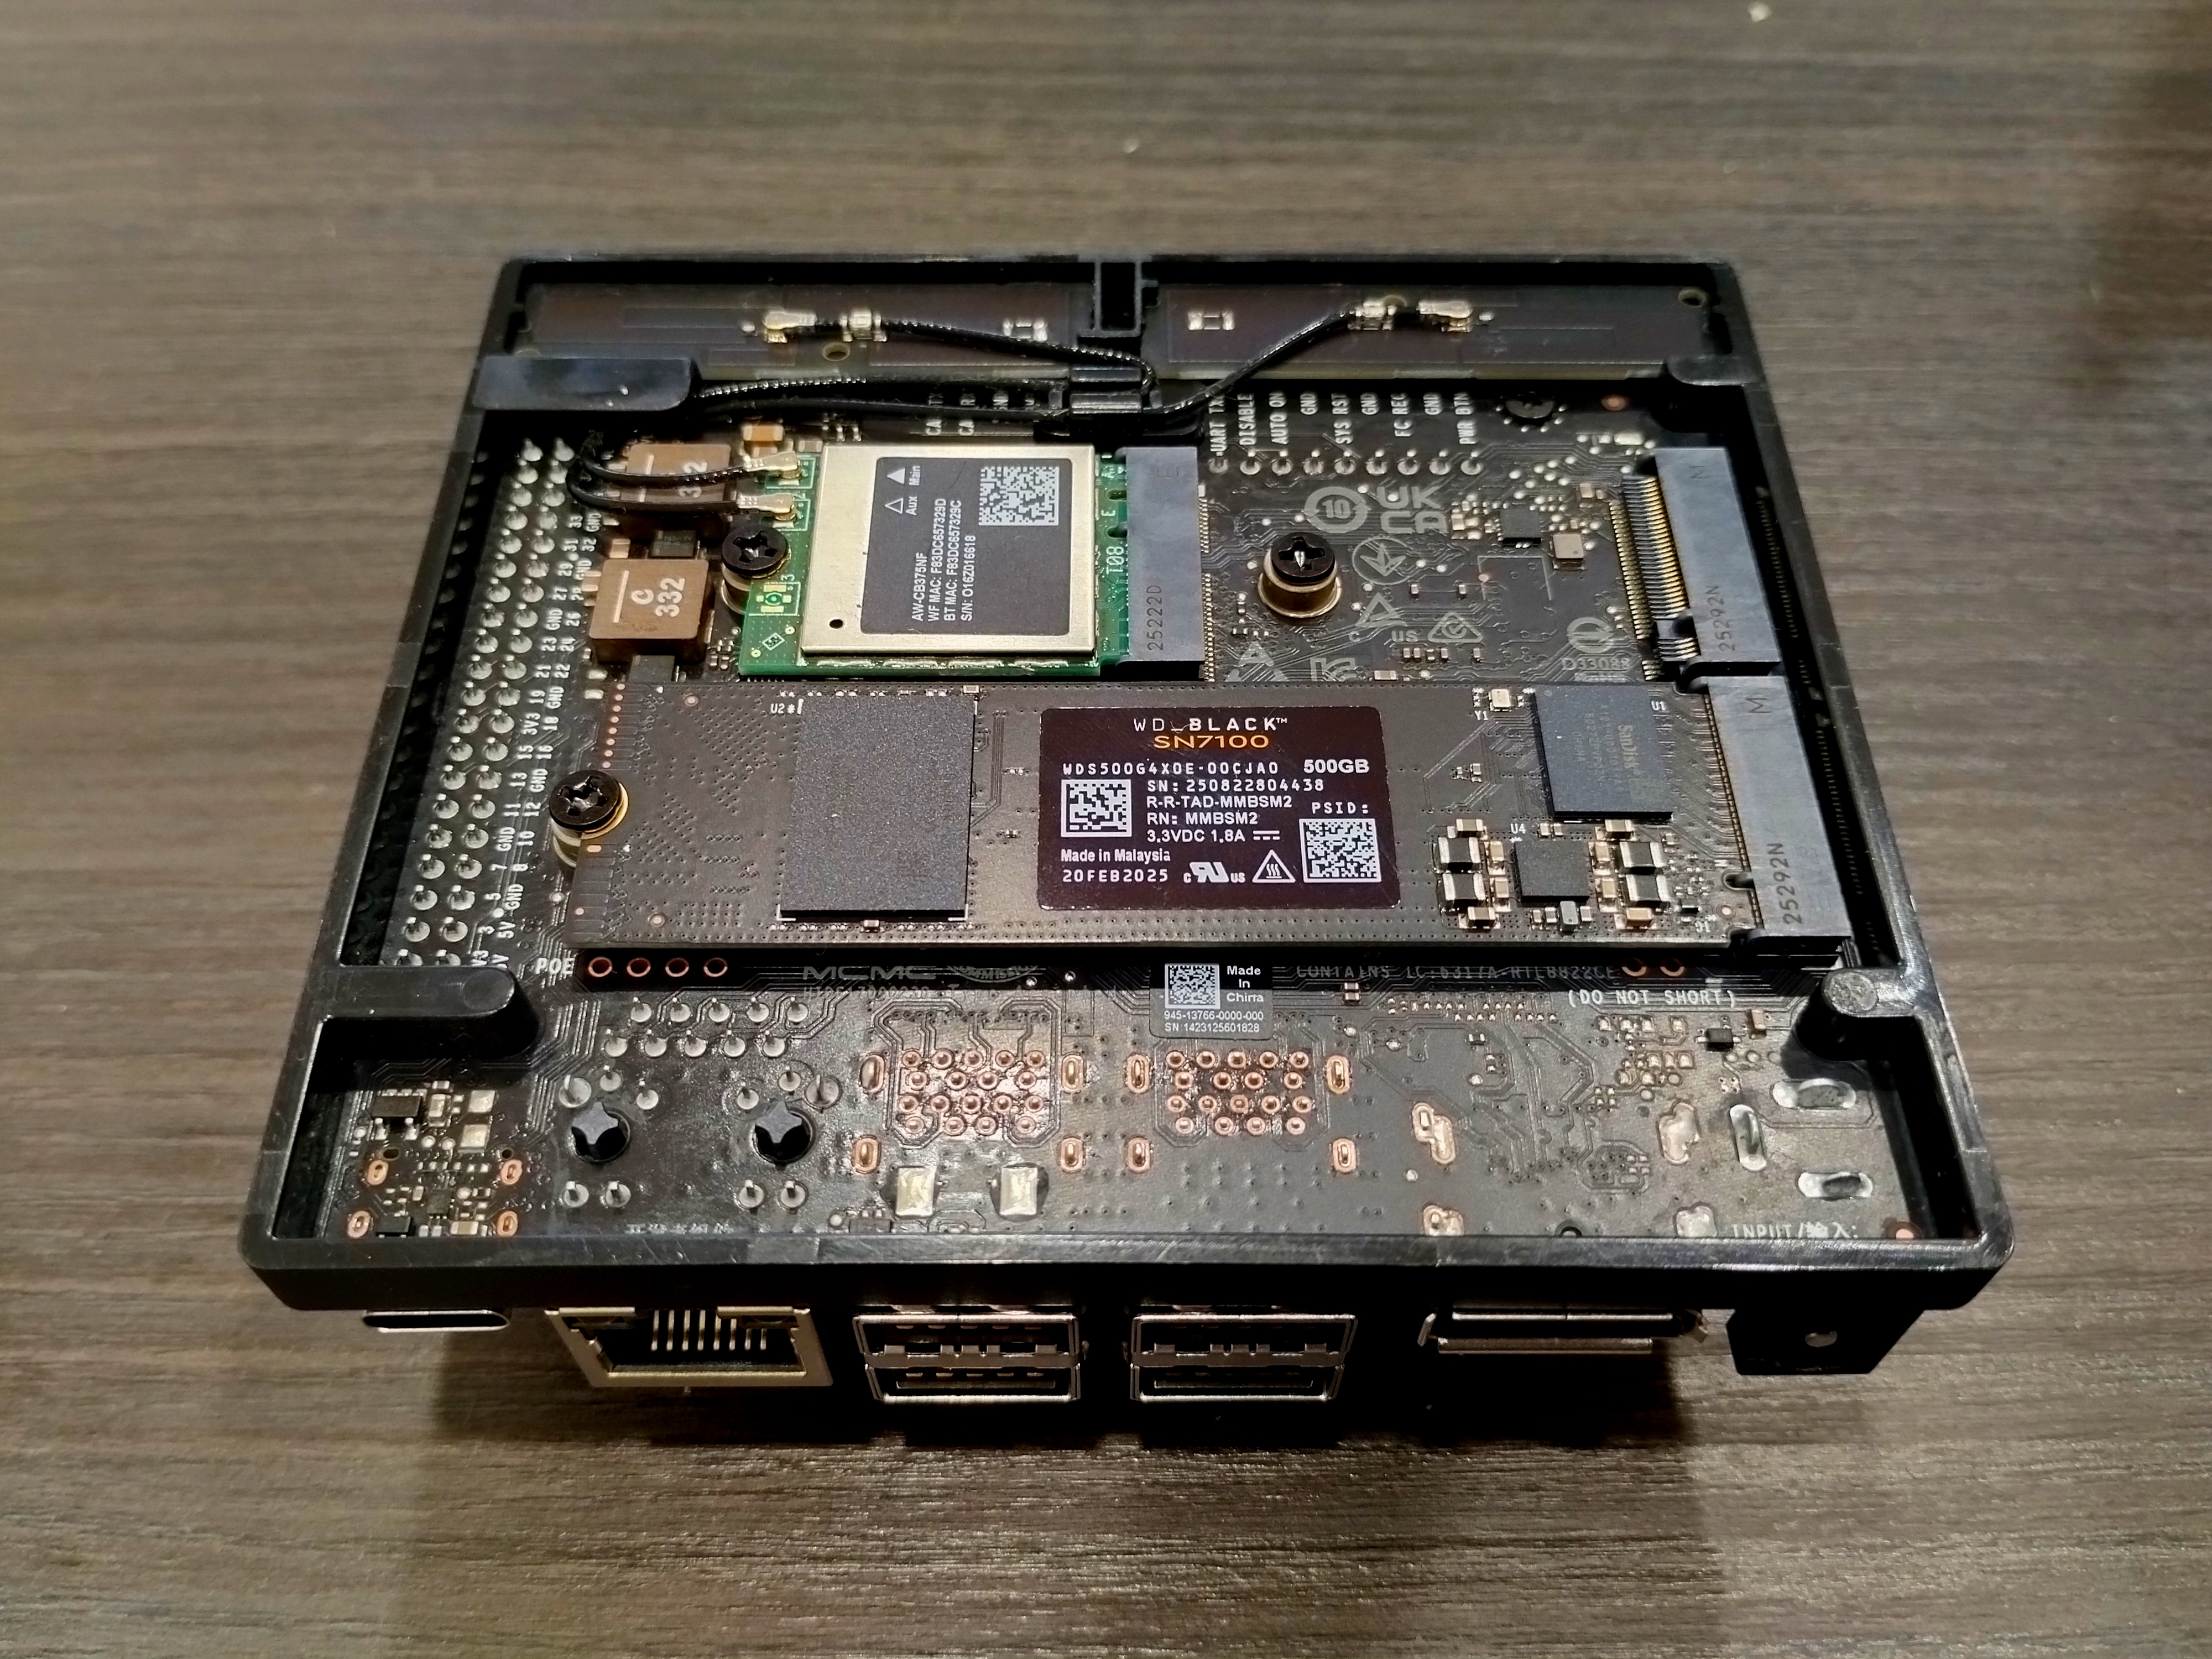
Unscrew the screw corresponding to the M.2 slot.
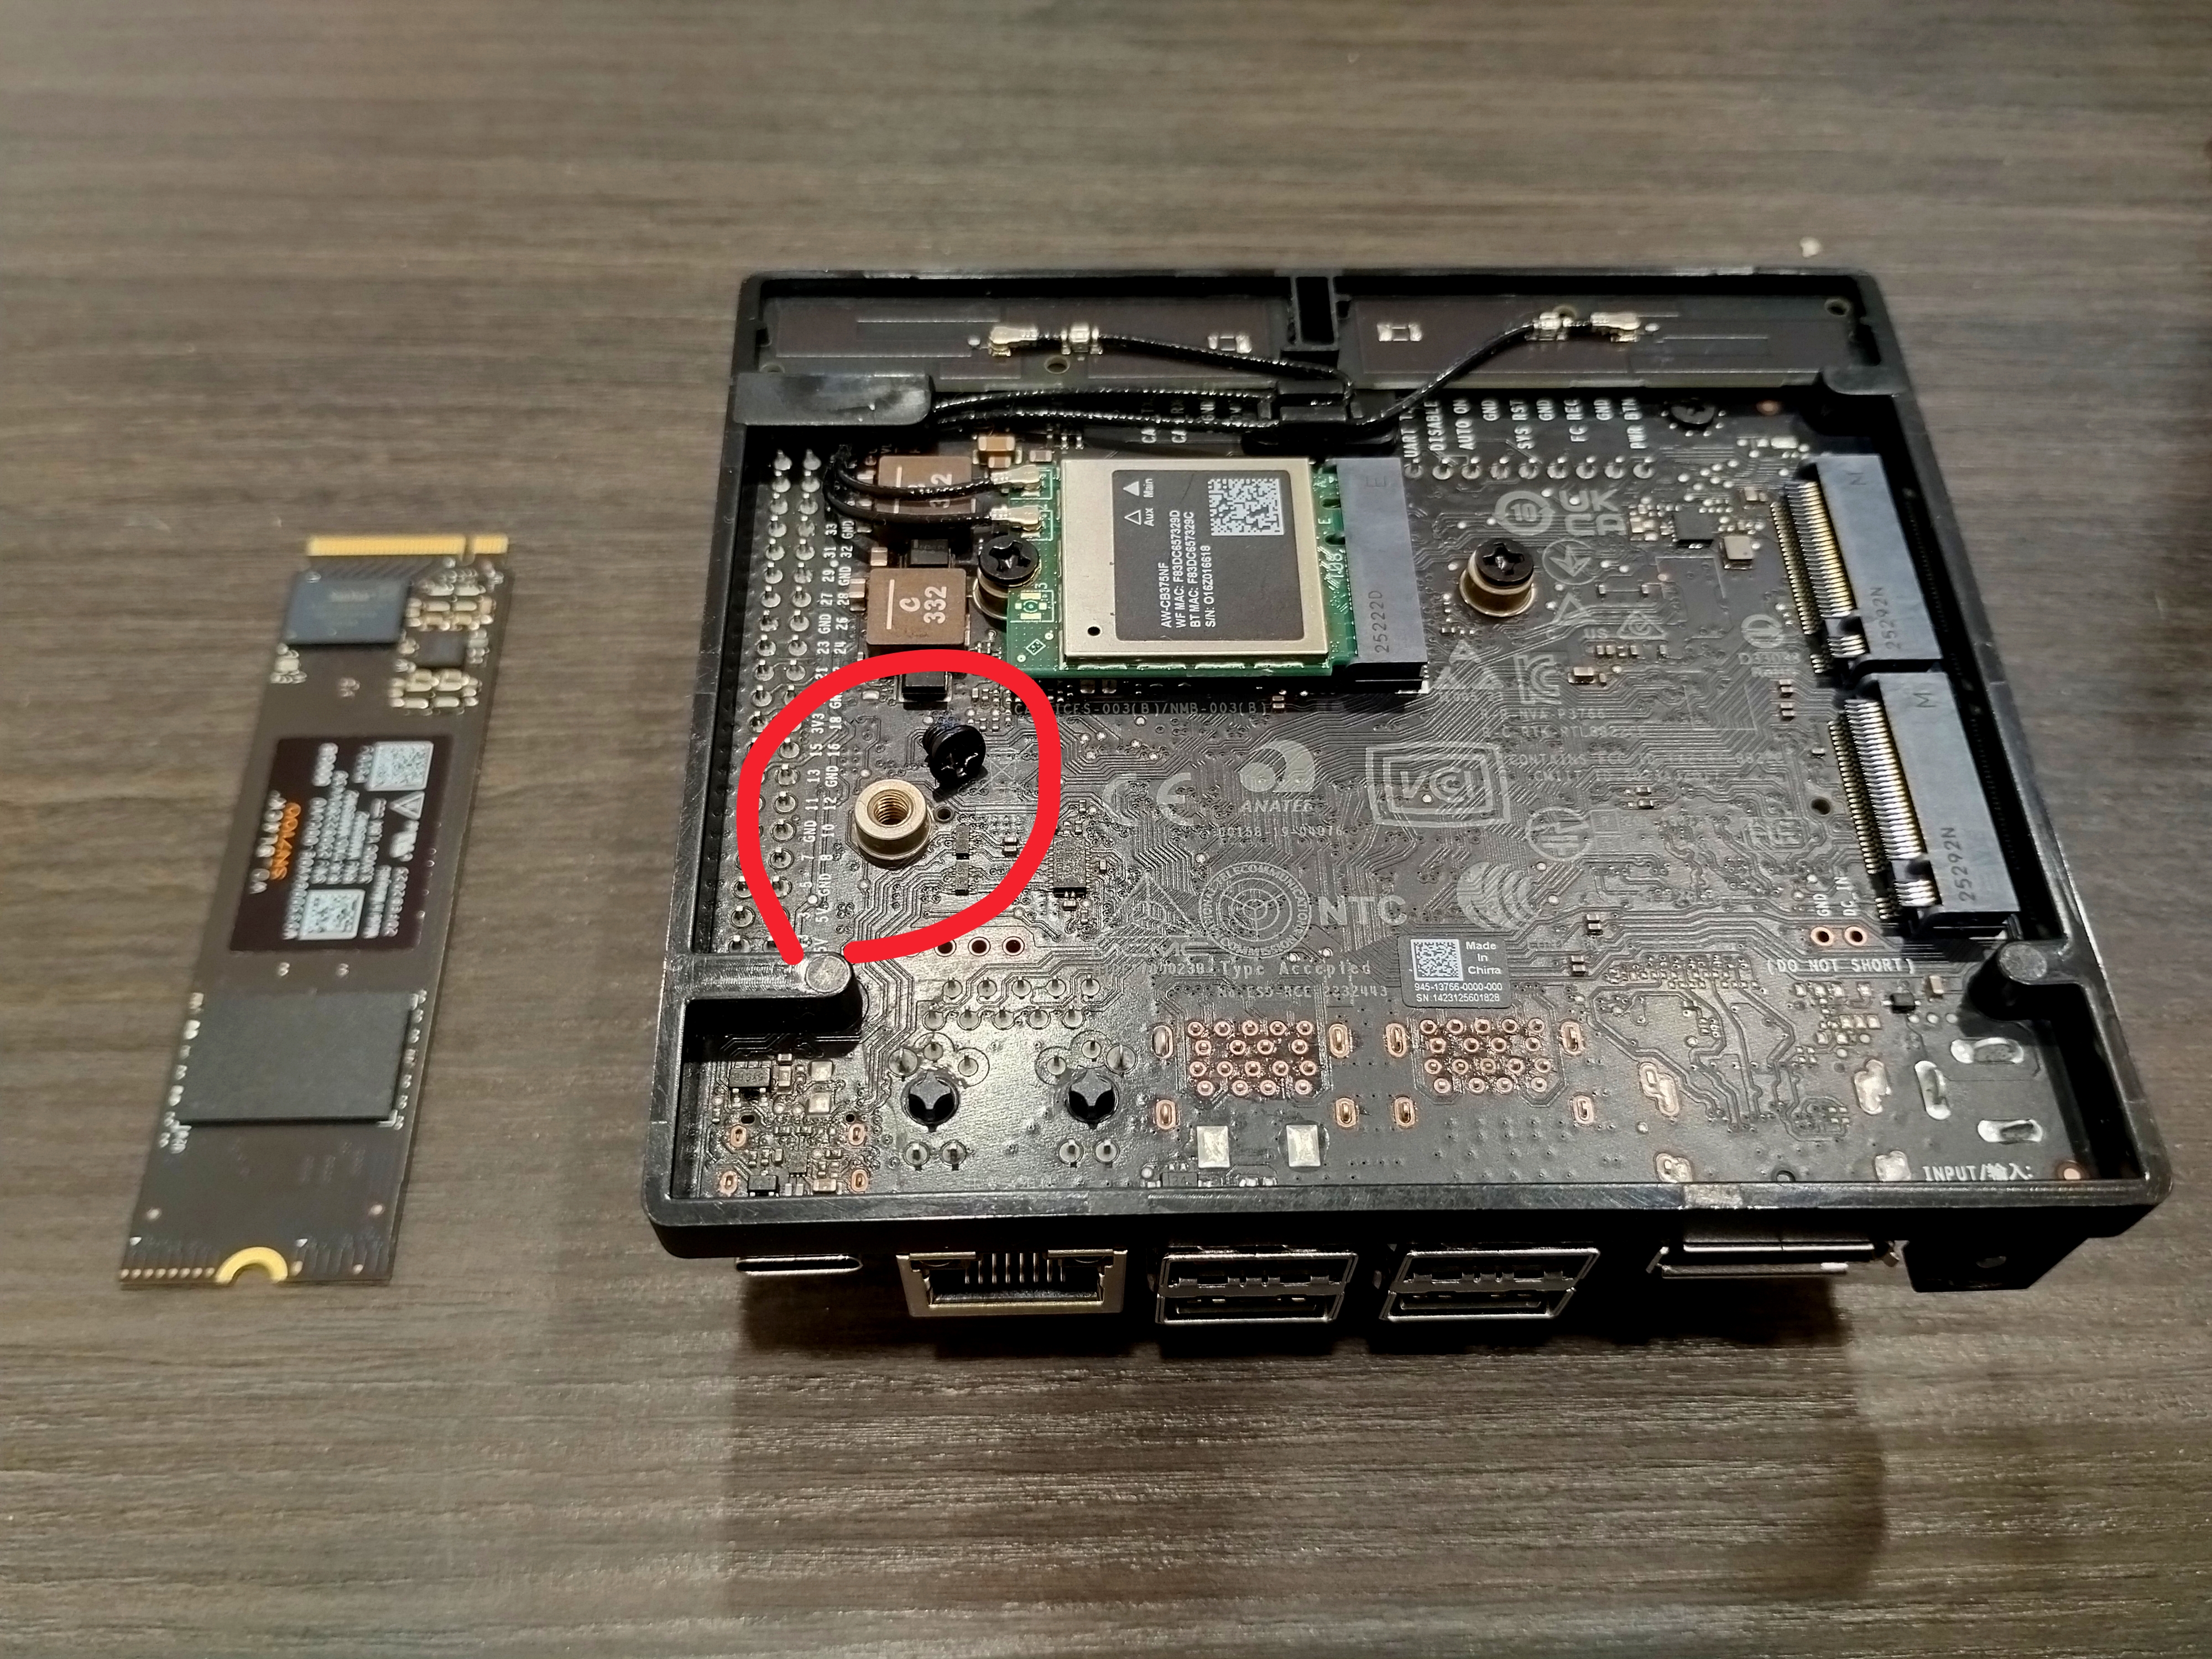
Insert the SSD into the M.2 slot. Keep it flat for easier insertion. It acts springy and stays diagonal after insertion, which is normal.
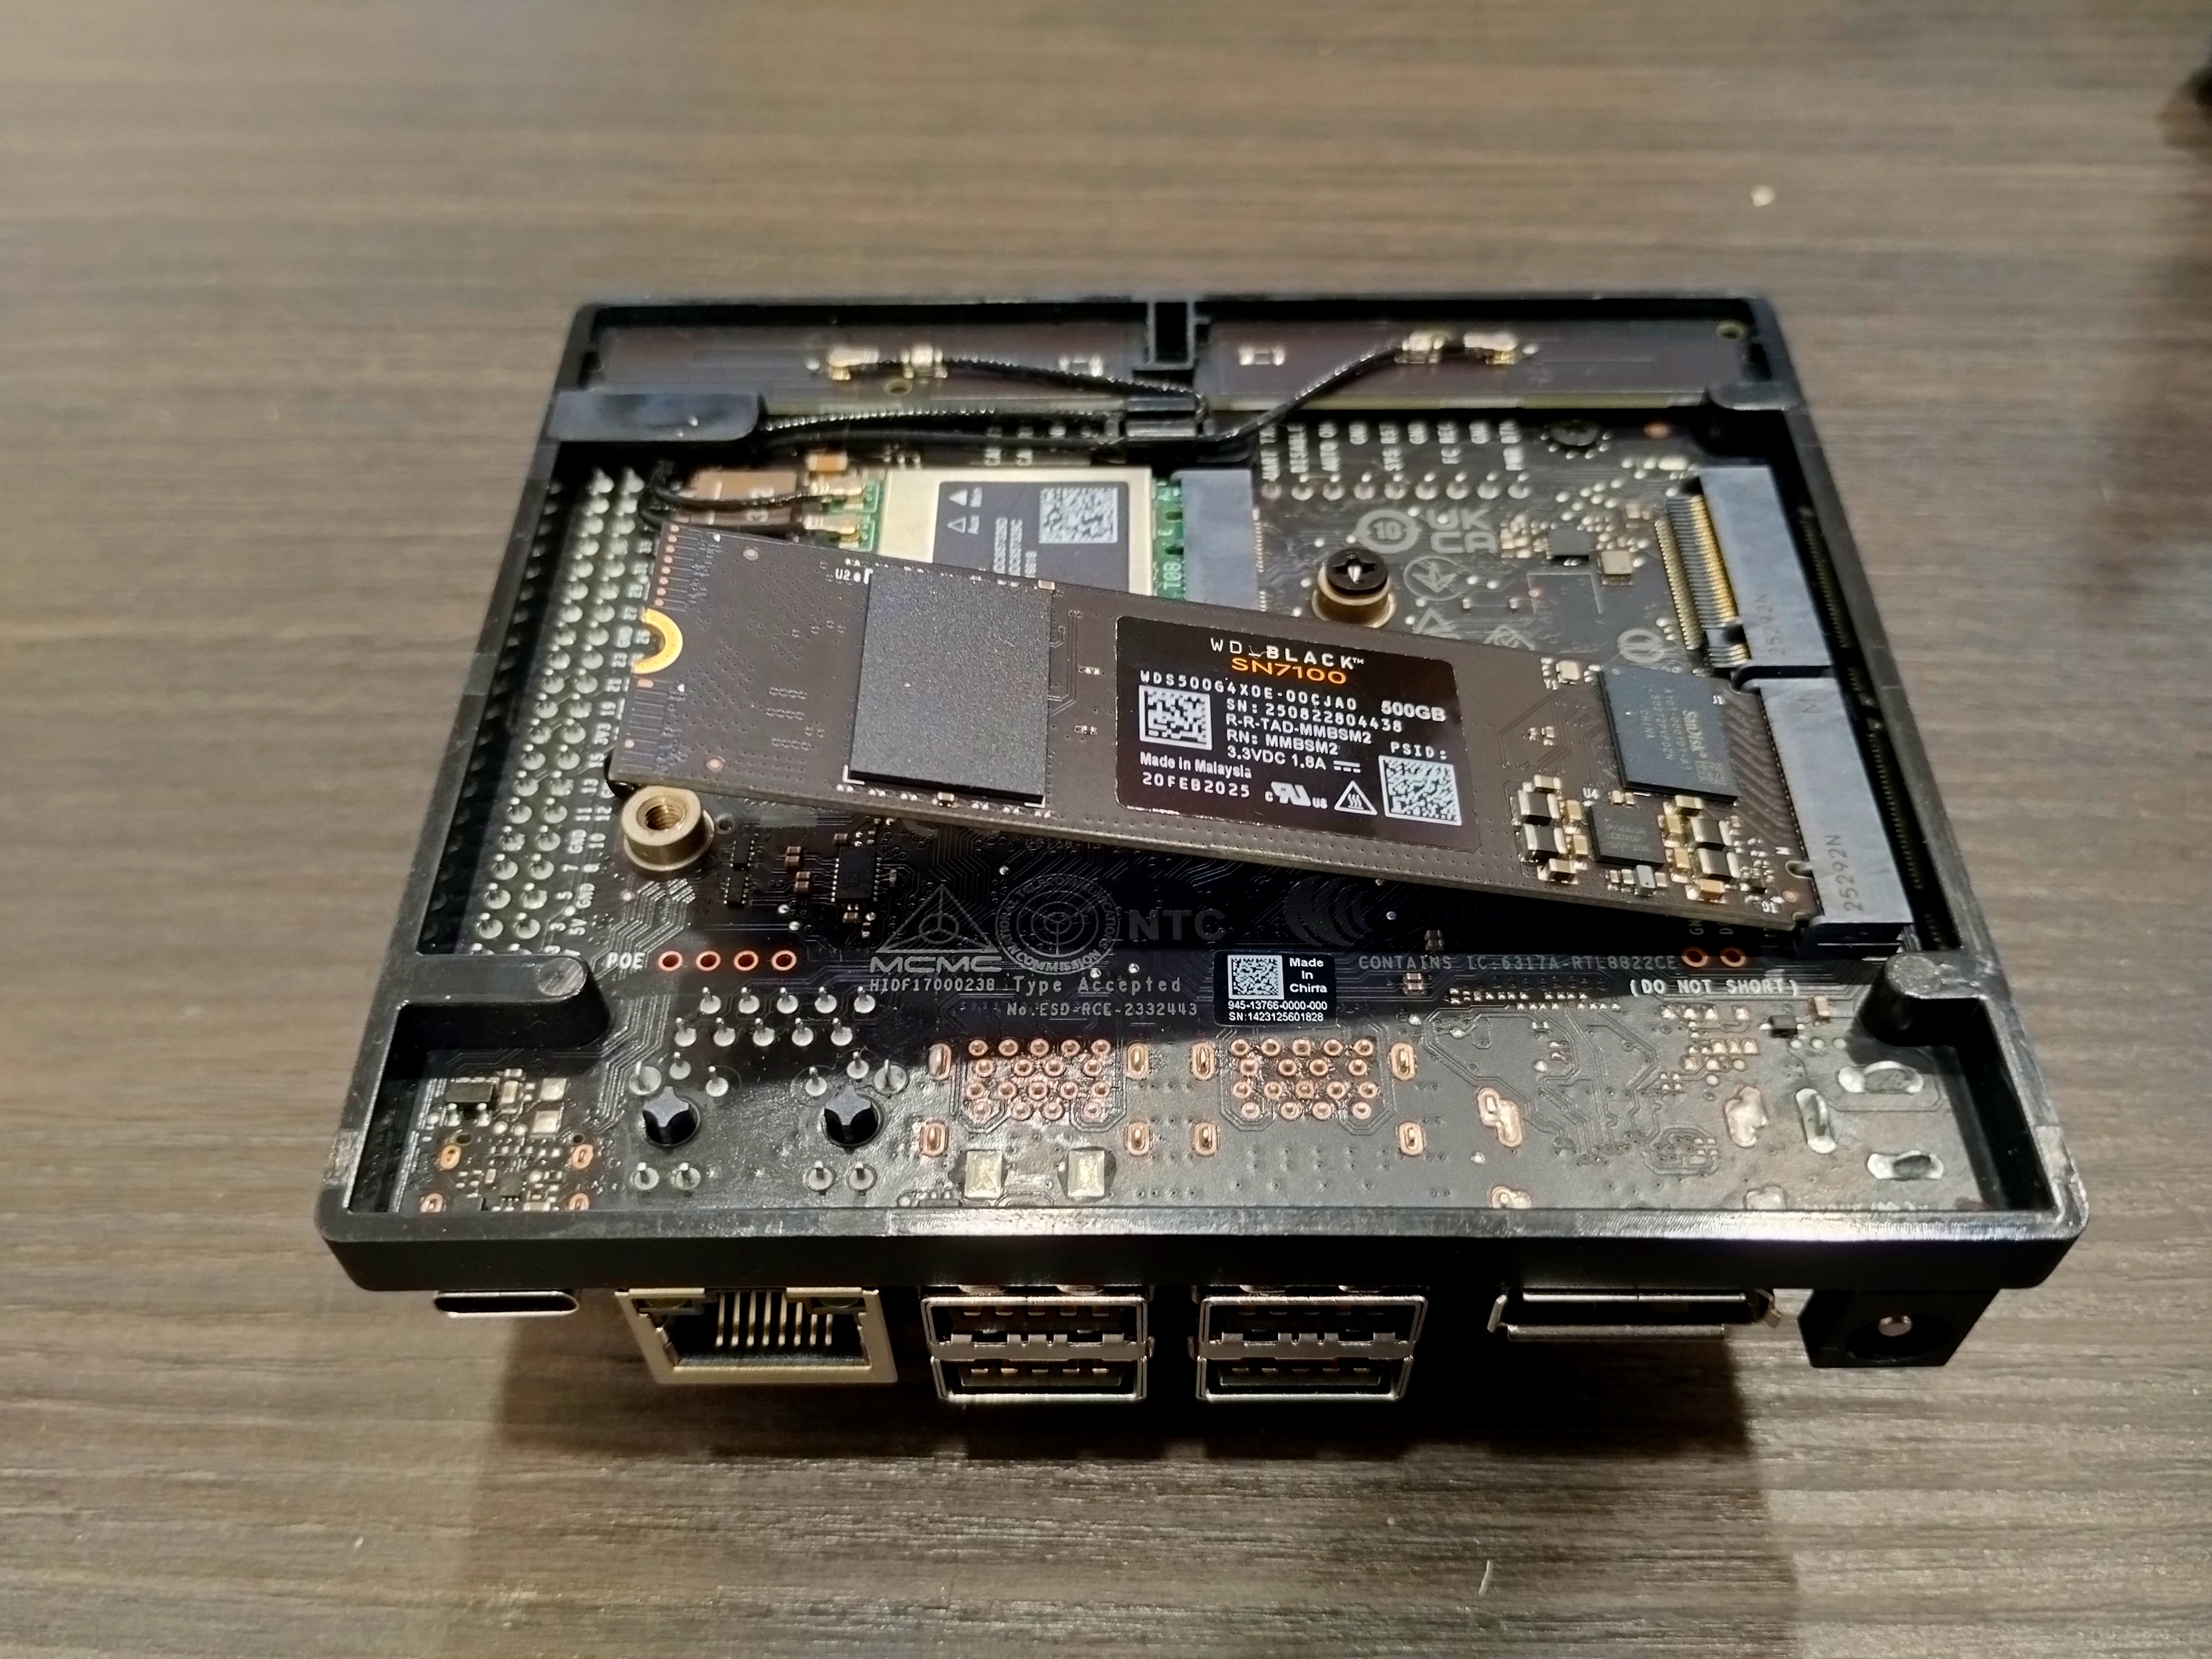
Lock the screw, and you are done!
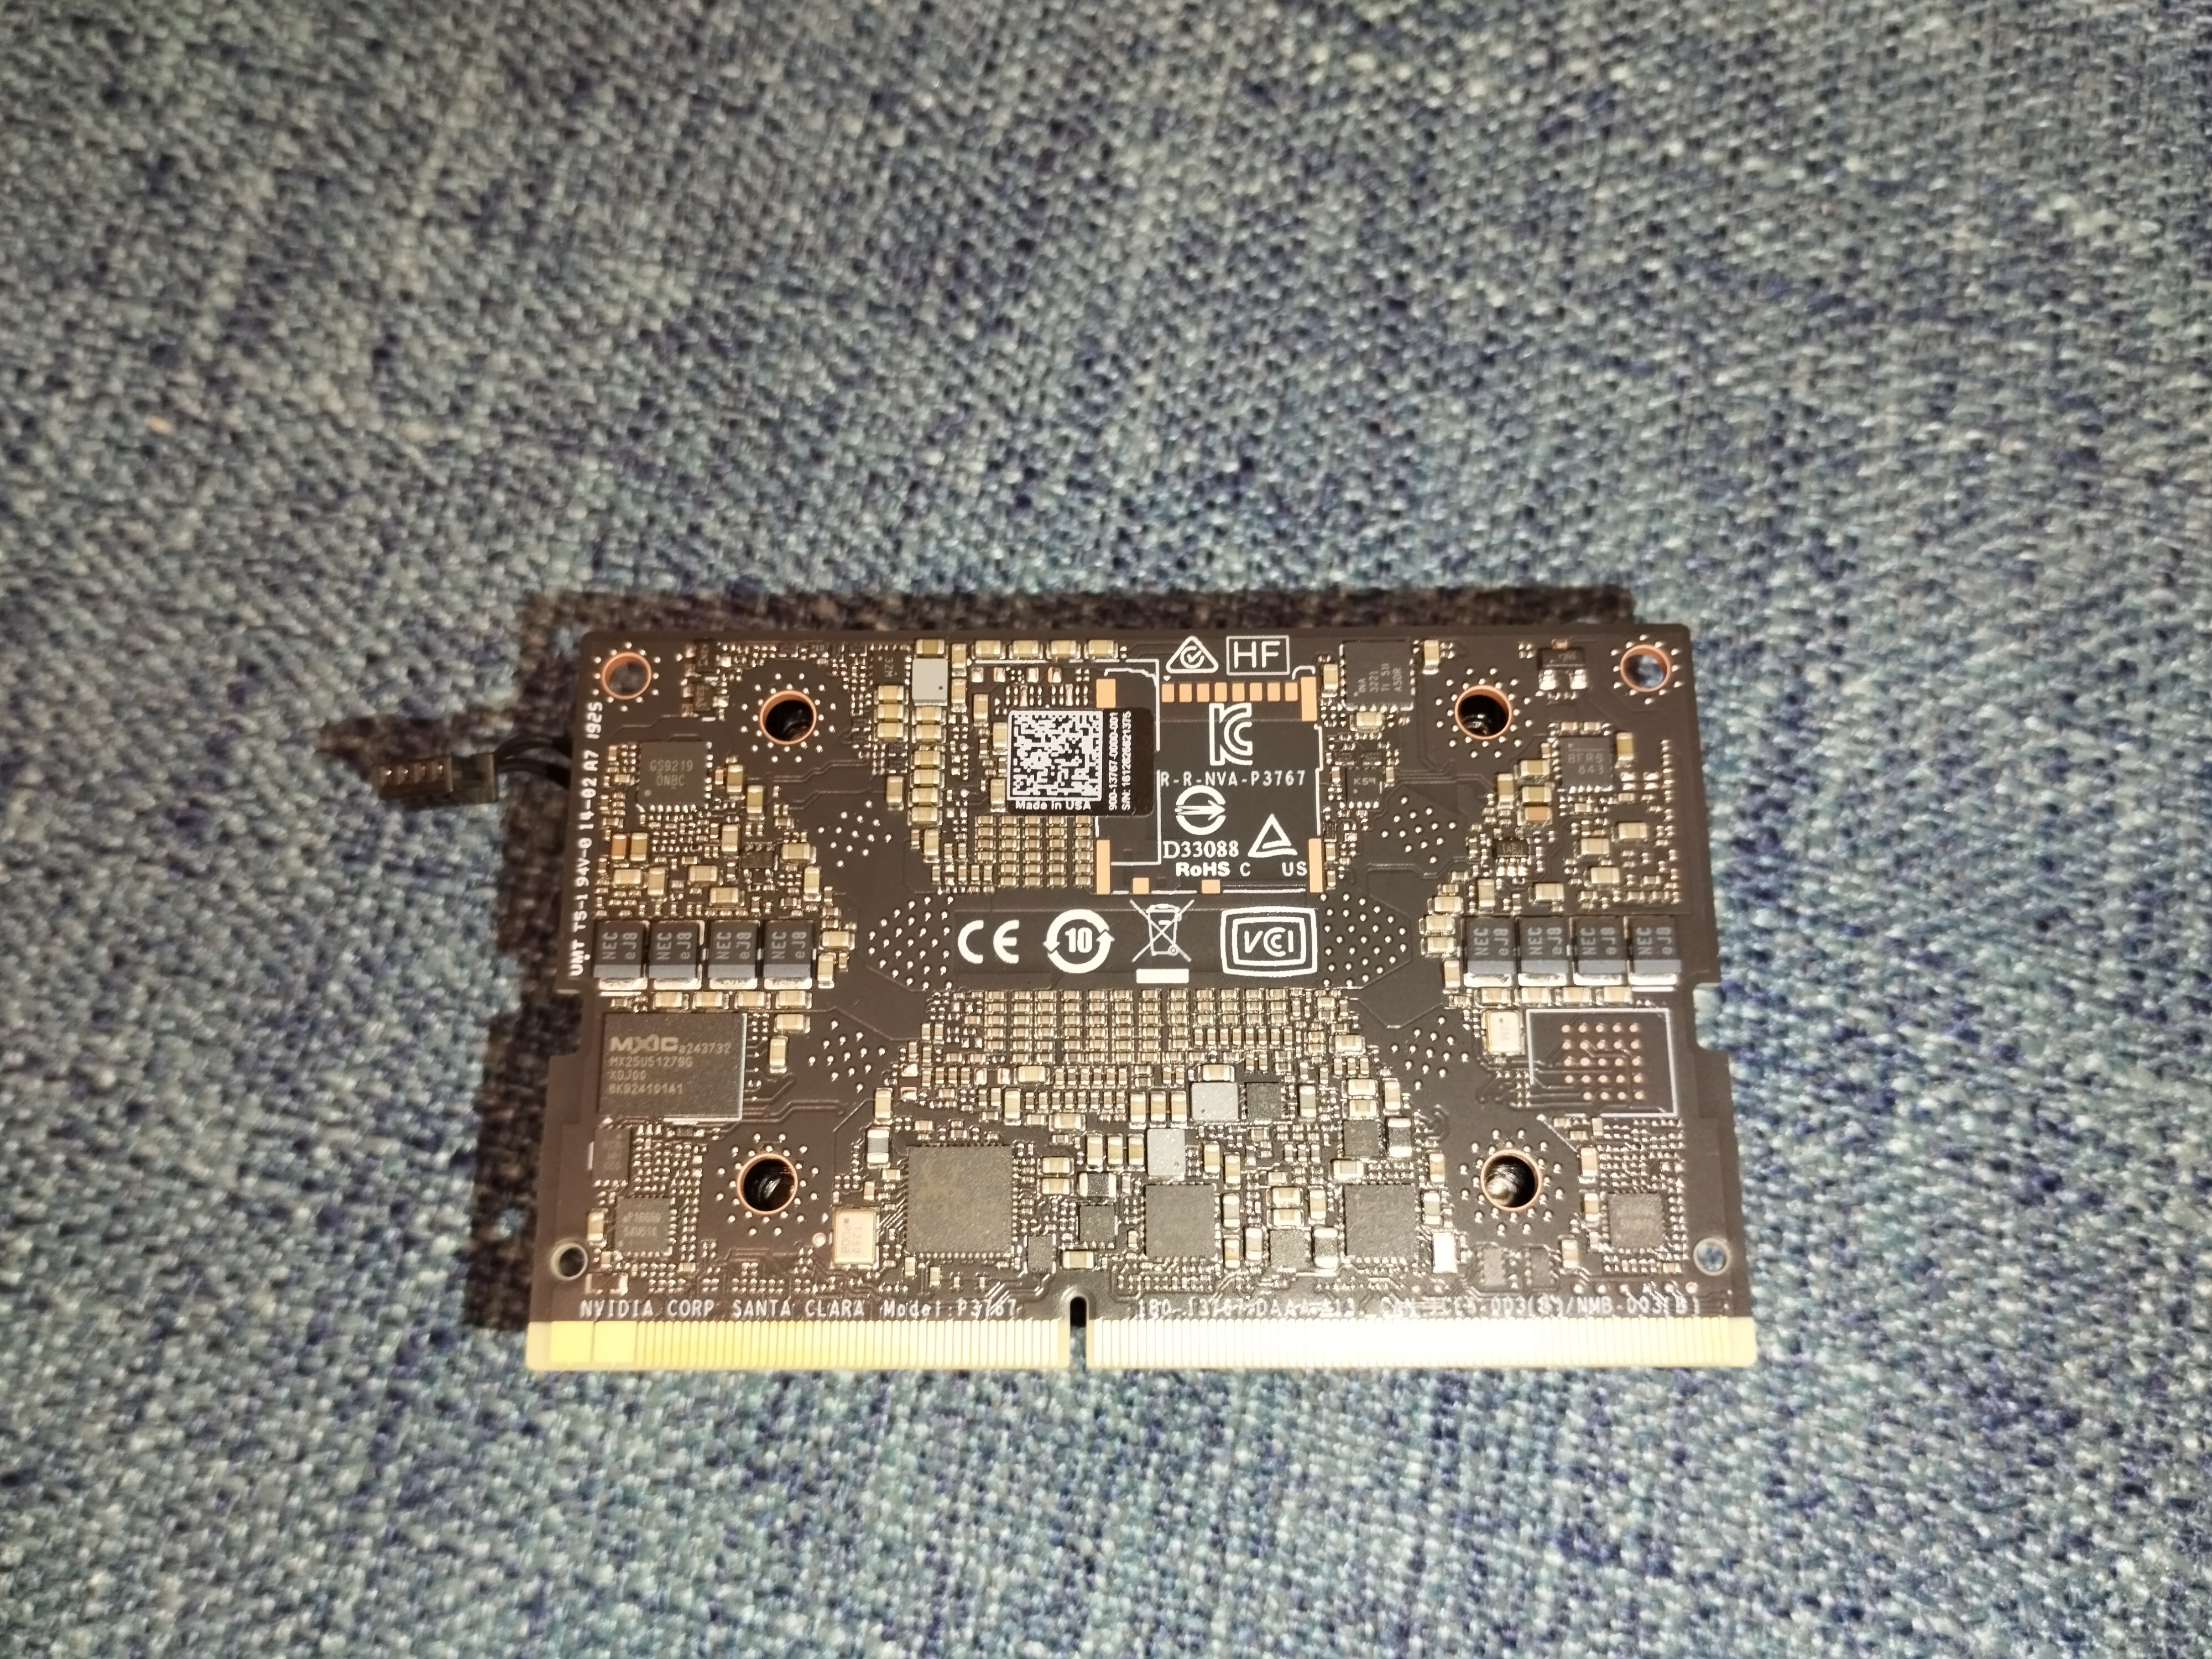
SOM Replacement
Disassembly is just the reverse of assembly, so here we only record the assembly process.
Preparation
Please prepare the thermal pad mentioned in “Hardware References”, the SOM, the DevKit, some alcohol, lint-free cloth, a T7 Torx screwdriver, and a PH1 Phillips screwdriver.
Thermal Pad: Can be refrigerated (not frozen) to help with cutting and application.
Disassemble the DevKit and old SOM in reverse order.
Use at least 75% alcohol to clean old thermal paste from the fan.
Use lint-free cloth (e.g., lens cloth) to wipe off the paste. If unavailable, sturdy paper towel or alcohol-soaked A4 paper is better than tissue paper.
Assembly Process
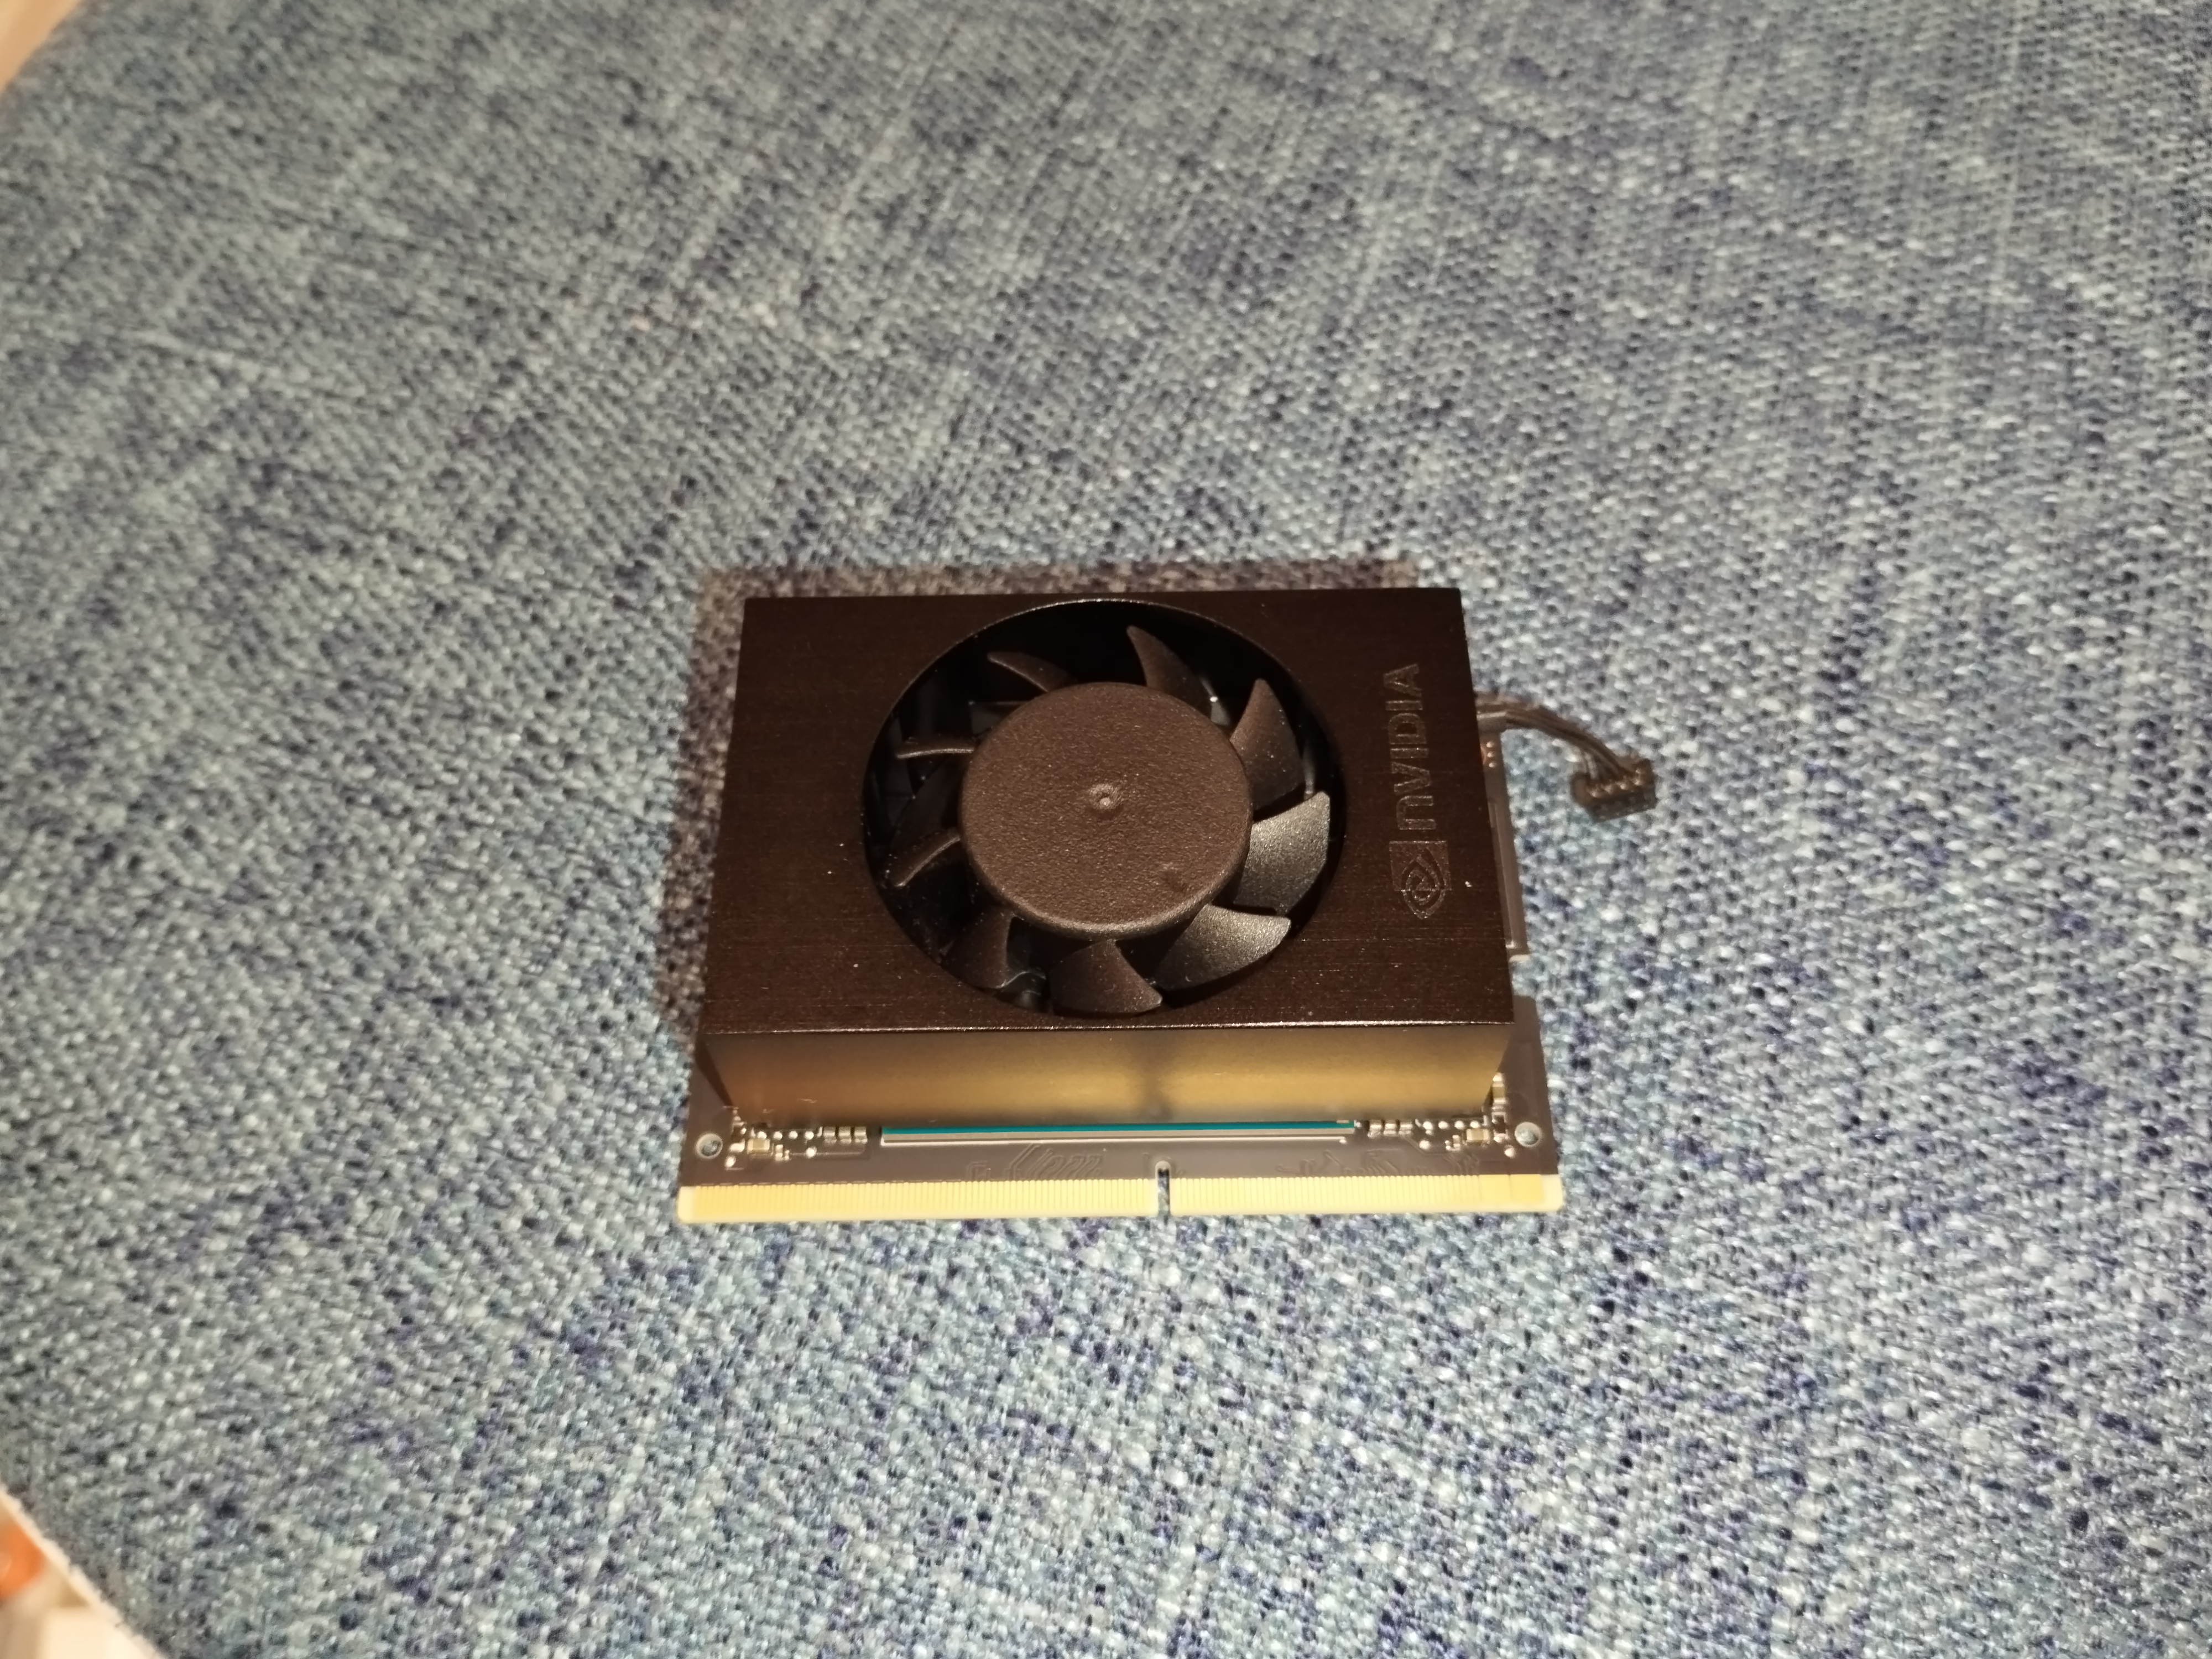
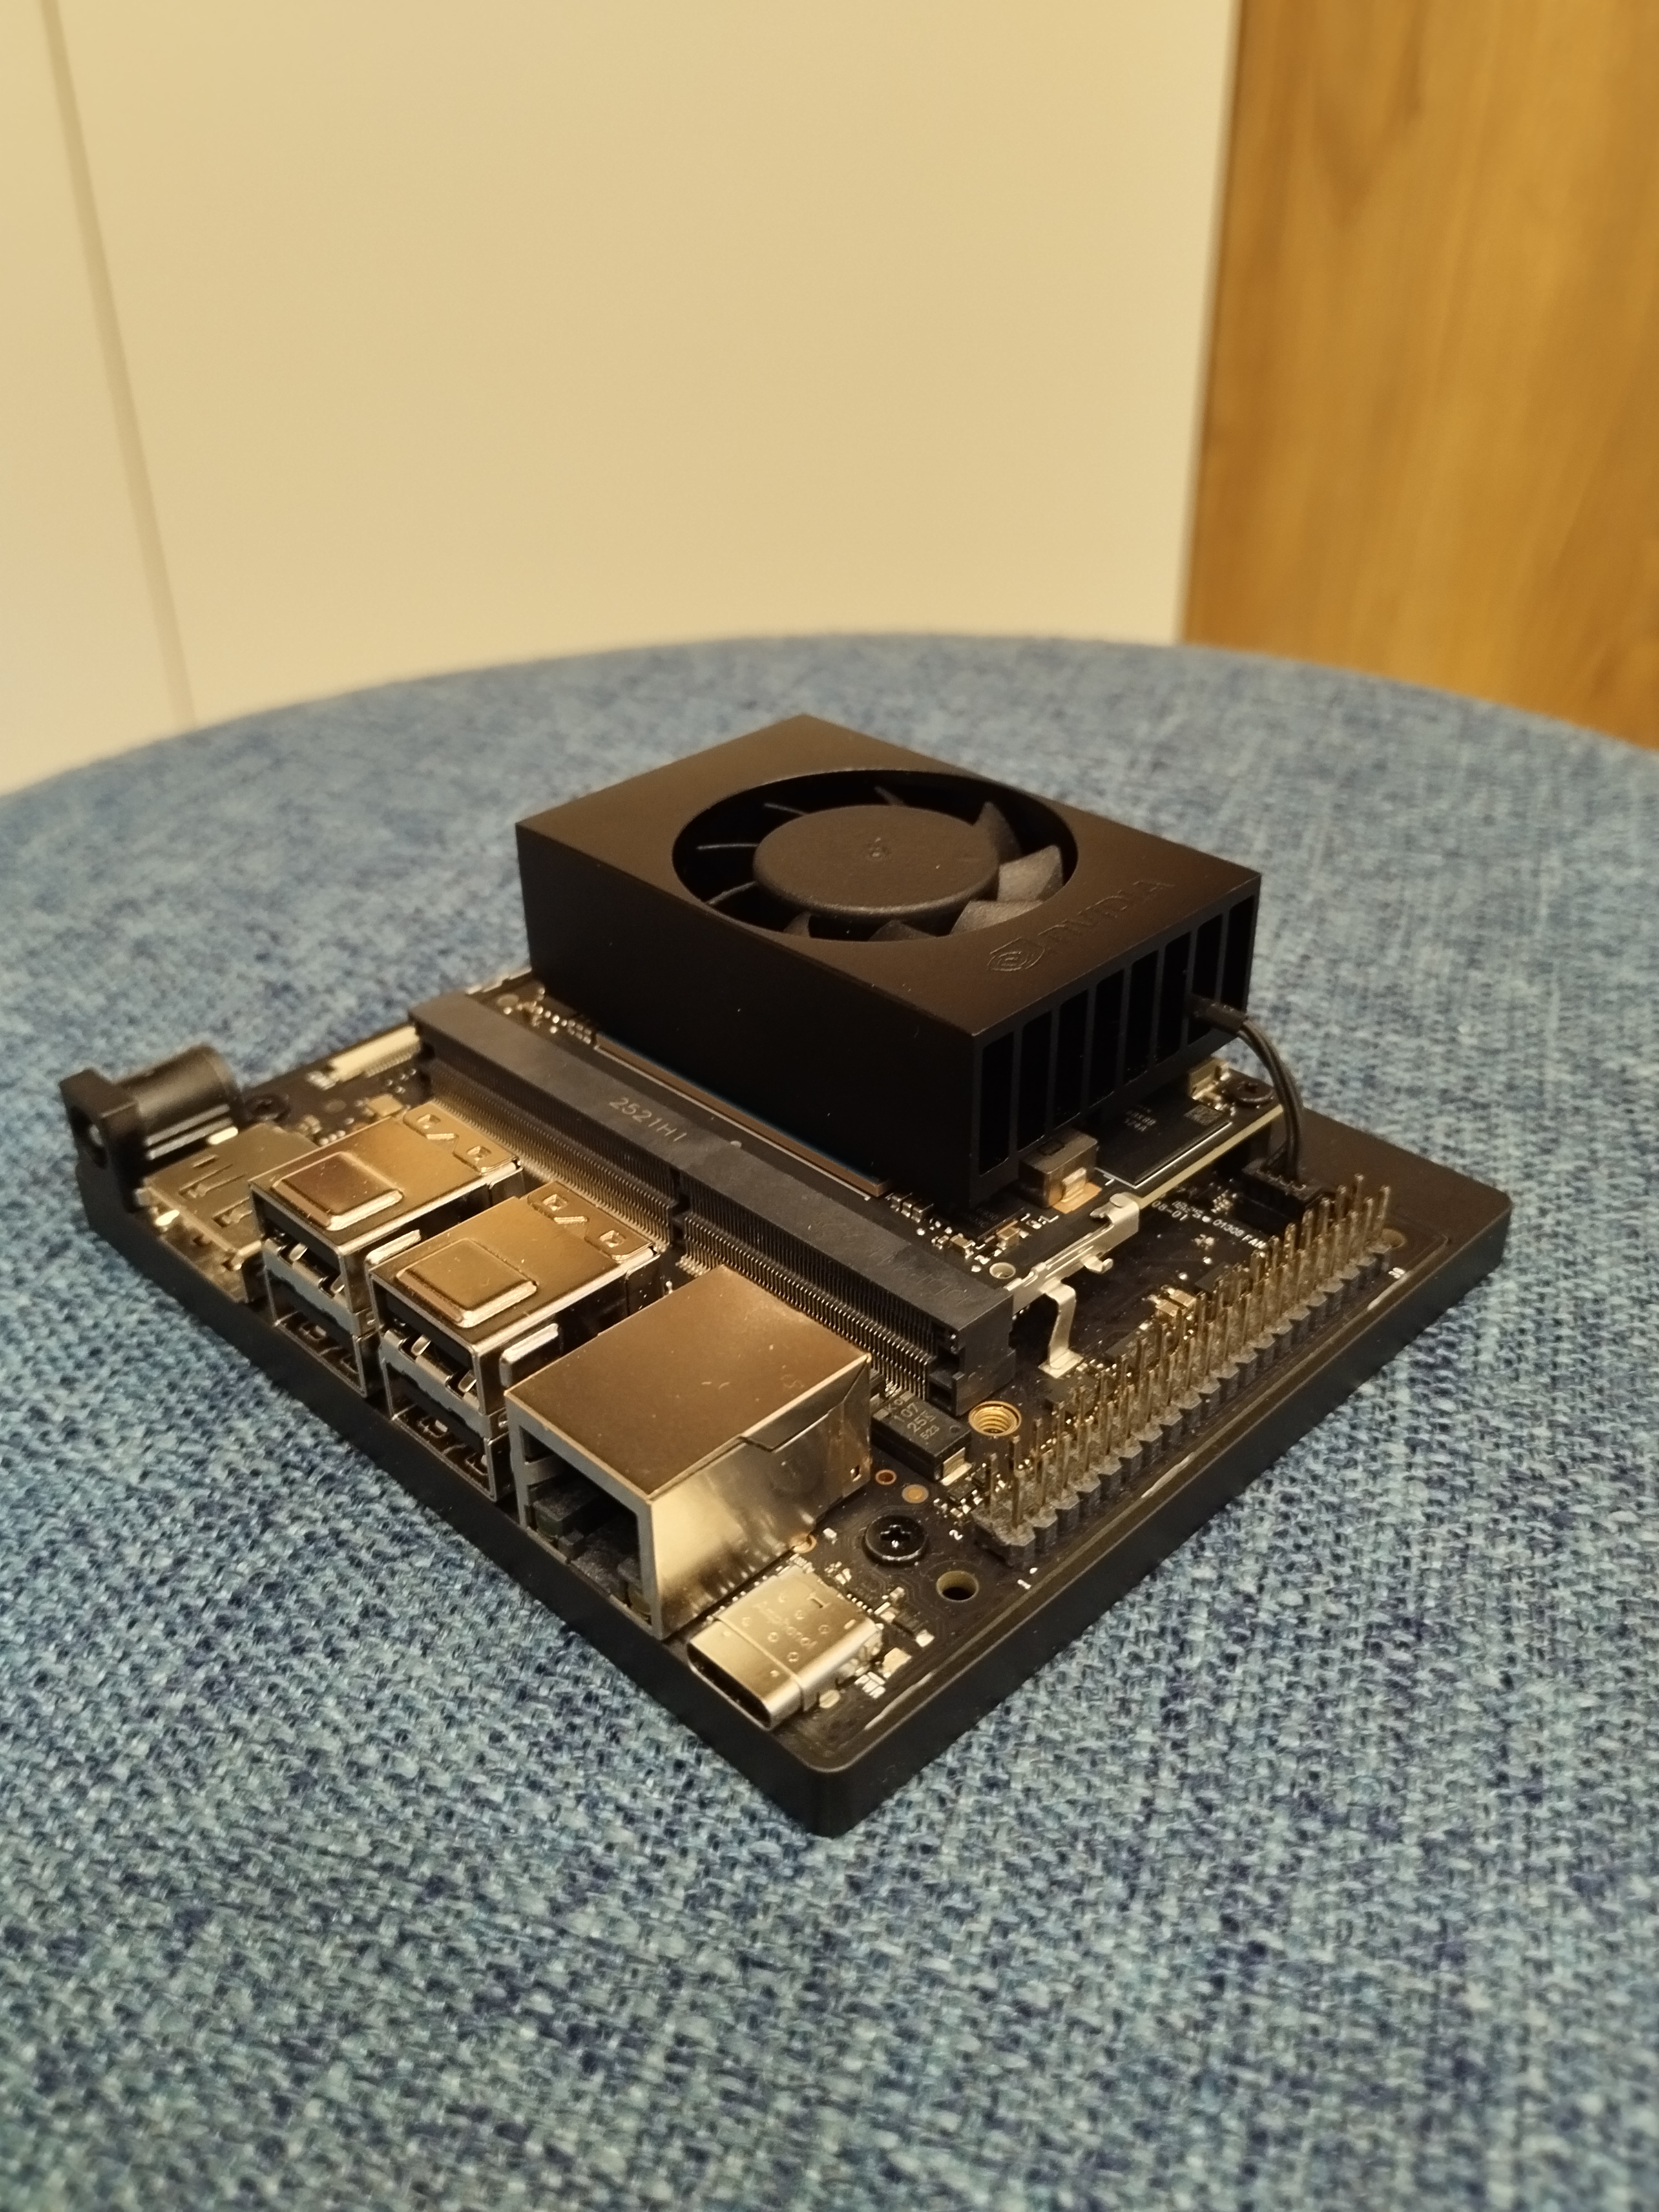
Take a 20 x 20 x 0.25mm PTM 7950 thermal pad and apply it to the center 22 x 20mm platform of the SOM.
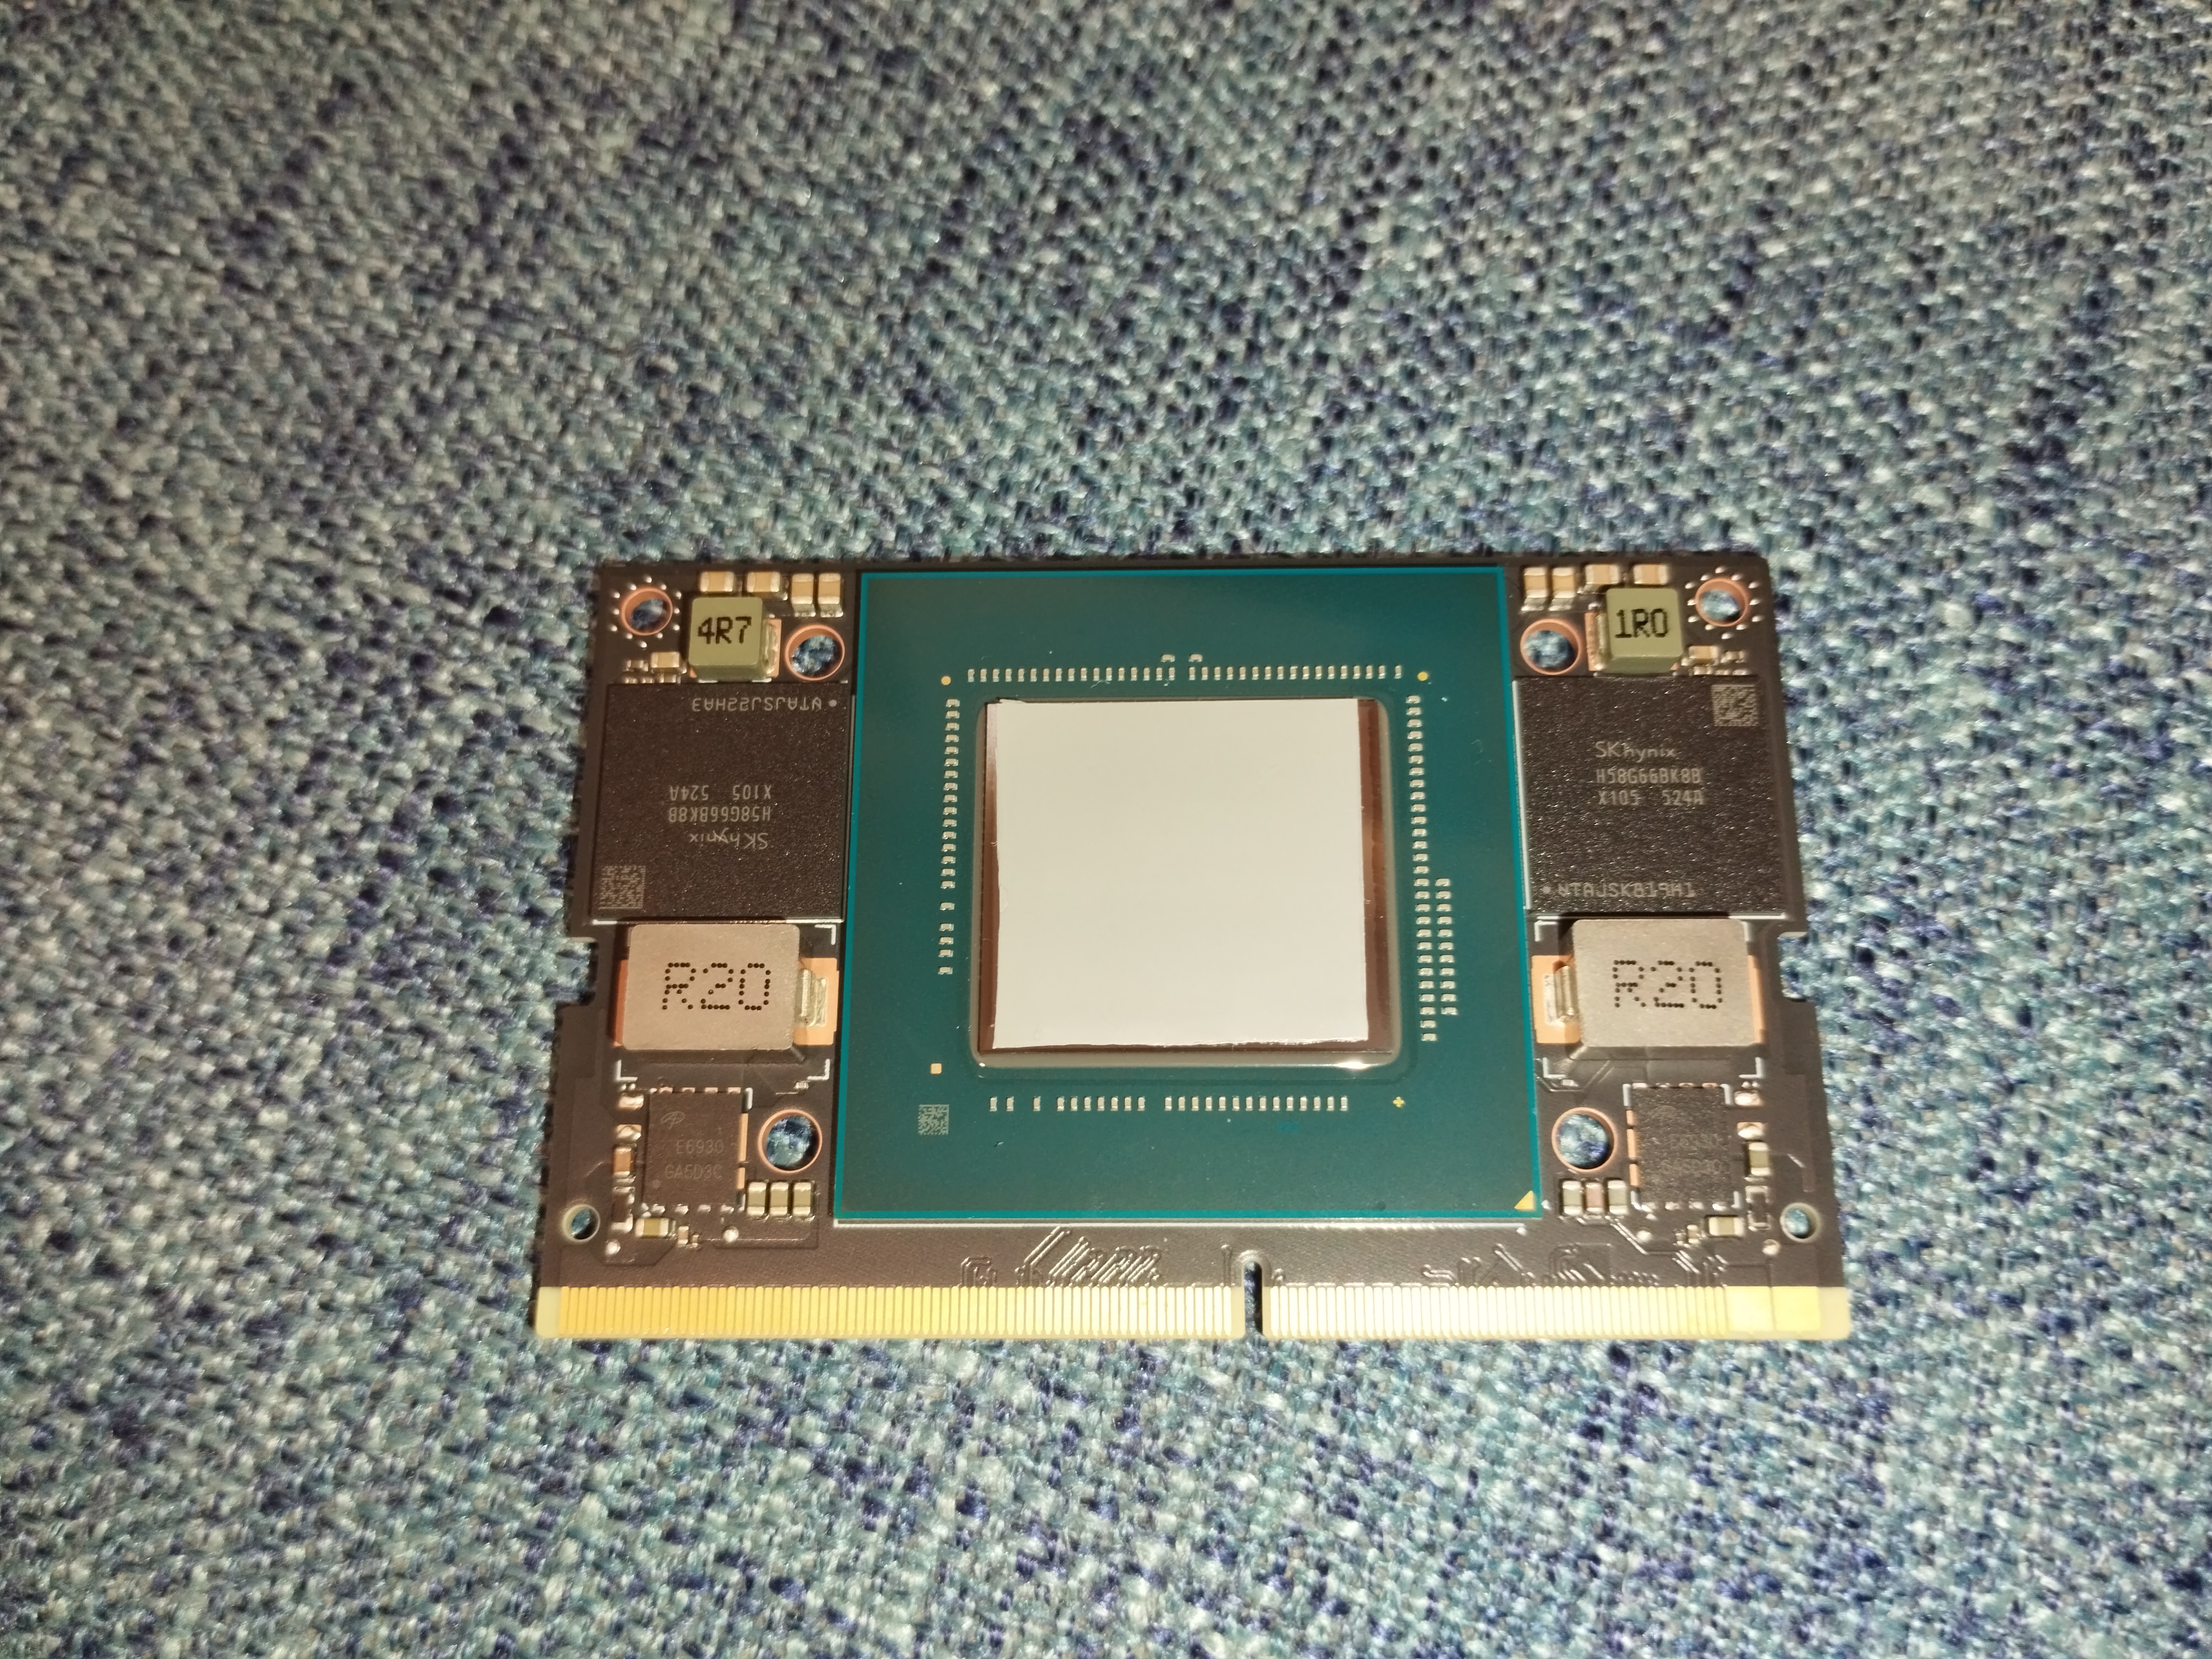
Clean the fan, align the four holes on the SOM and the back of the fan, and stick them together using the thermal pad’s adhesiveness.
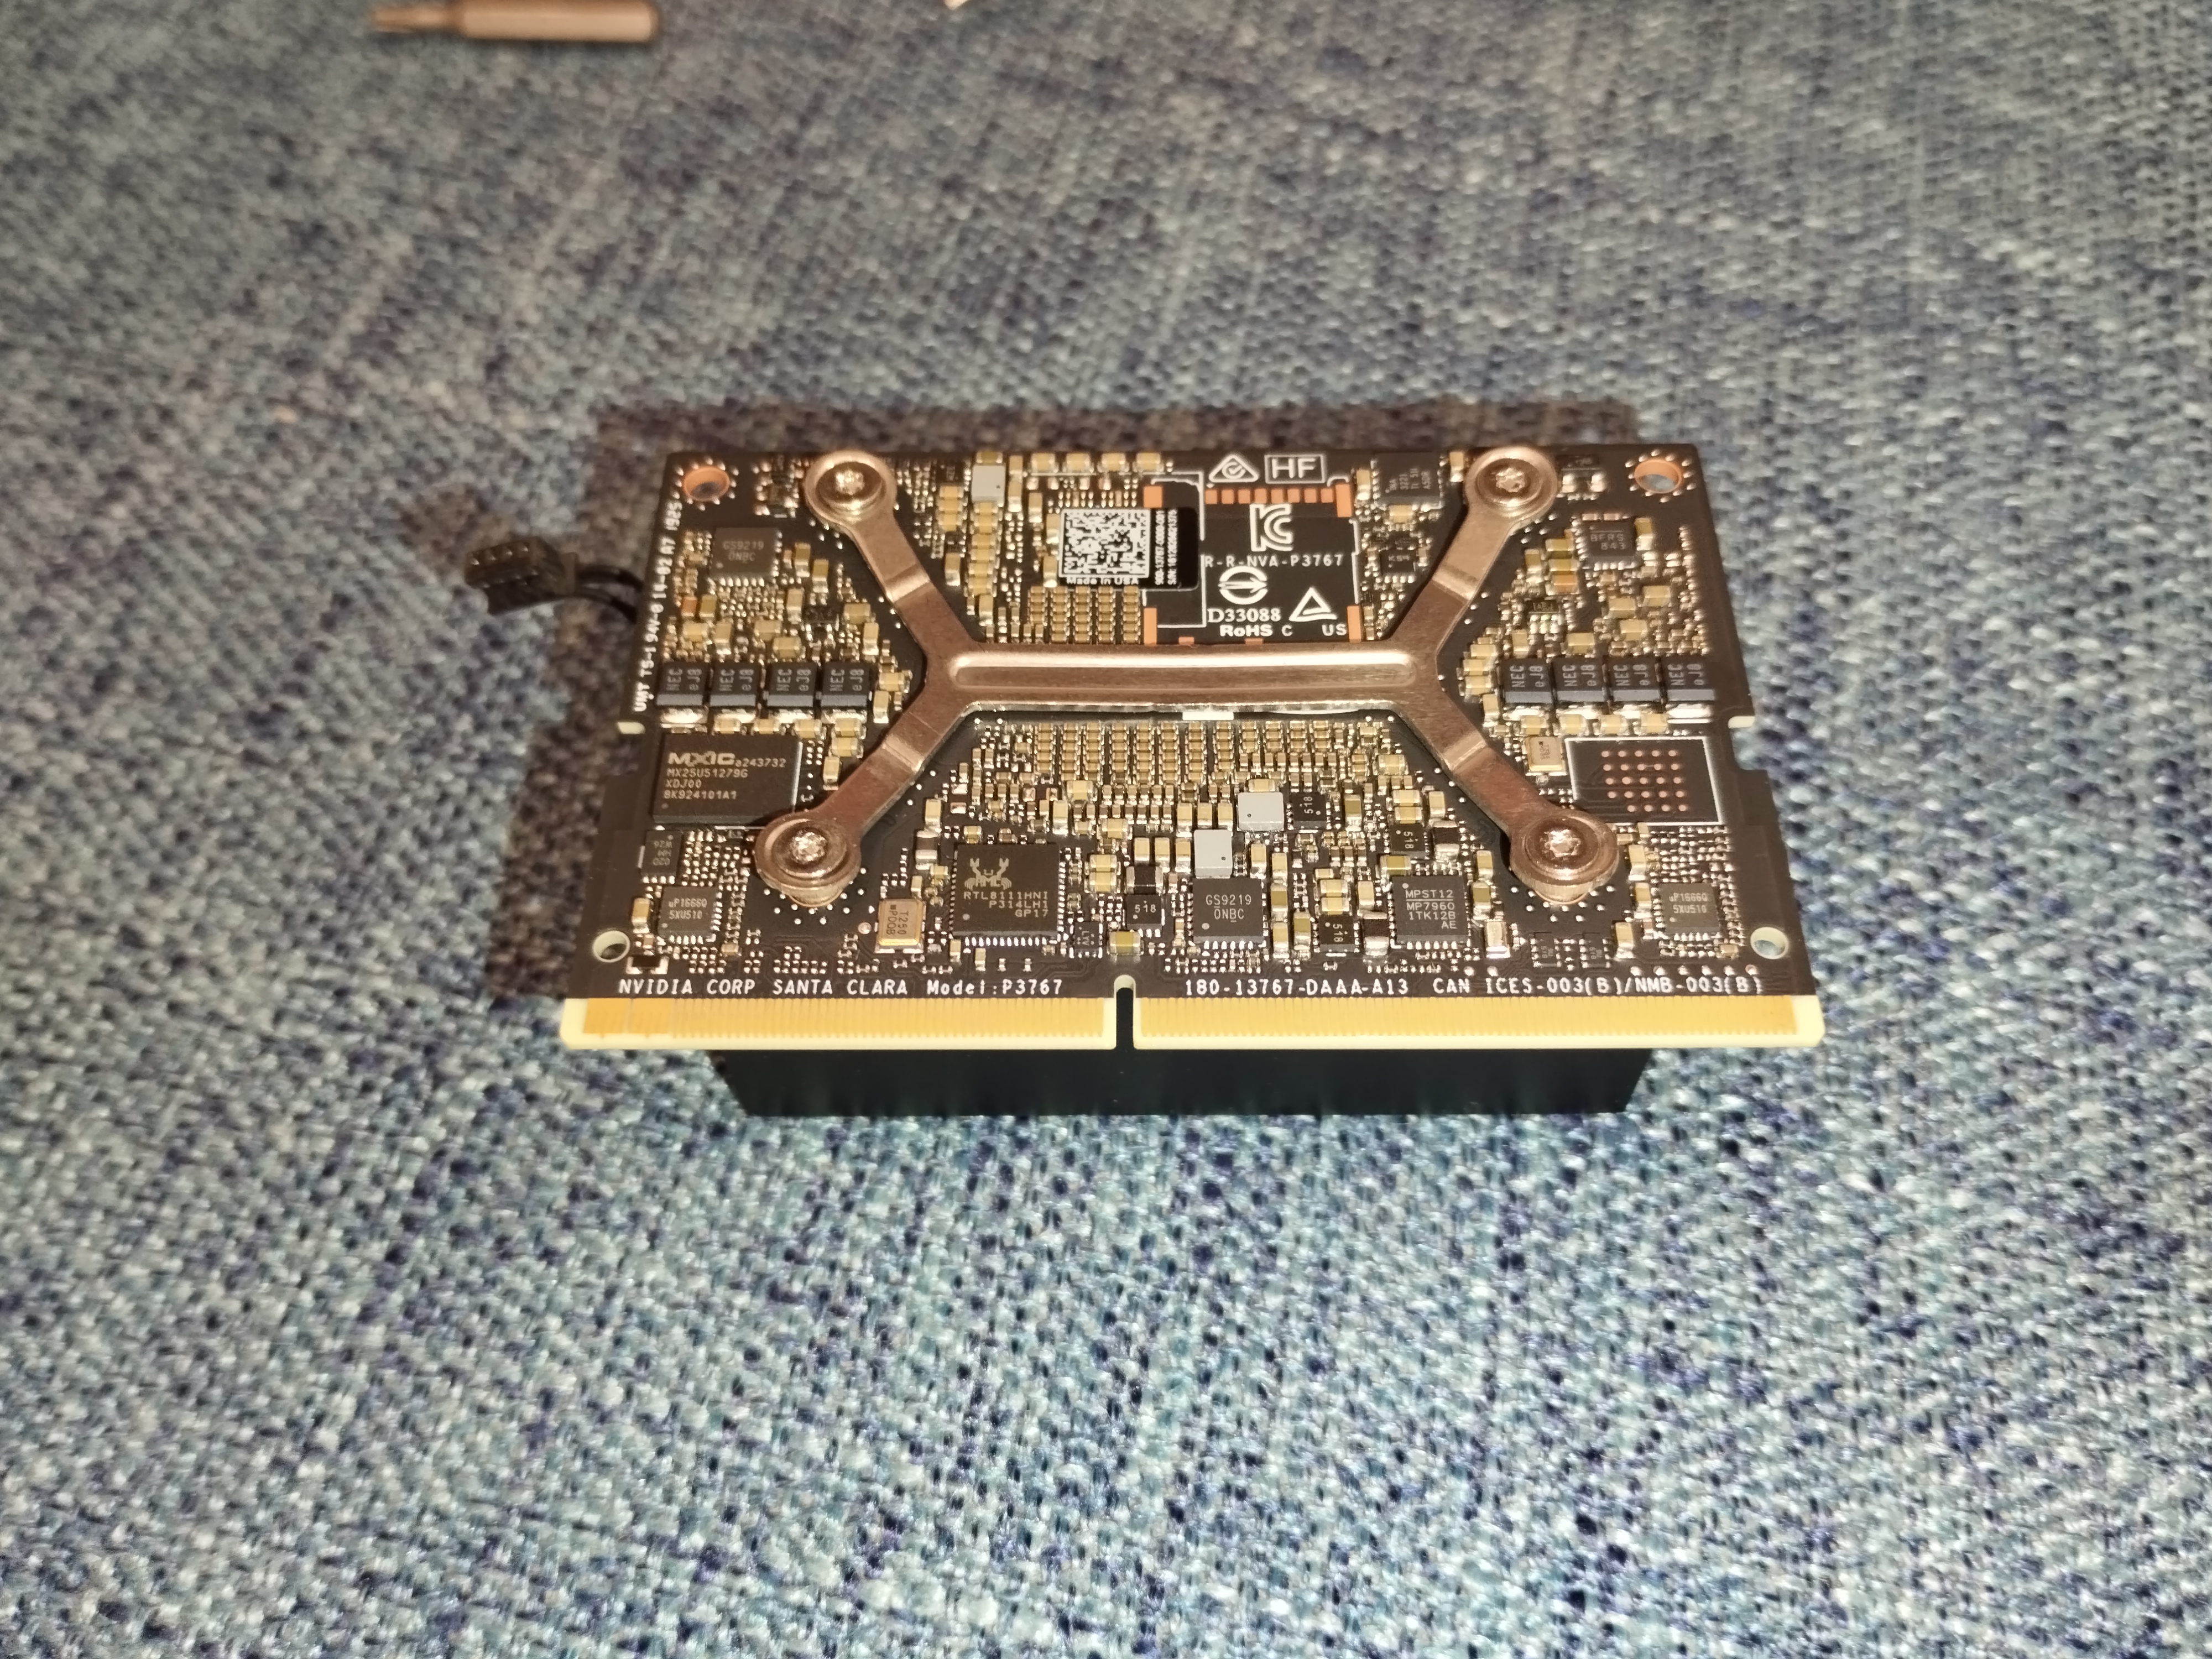
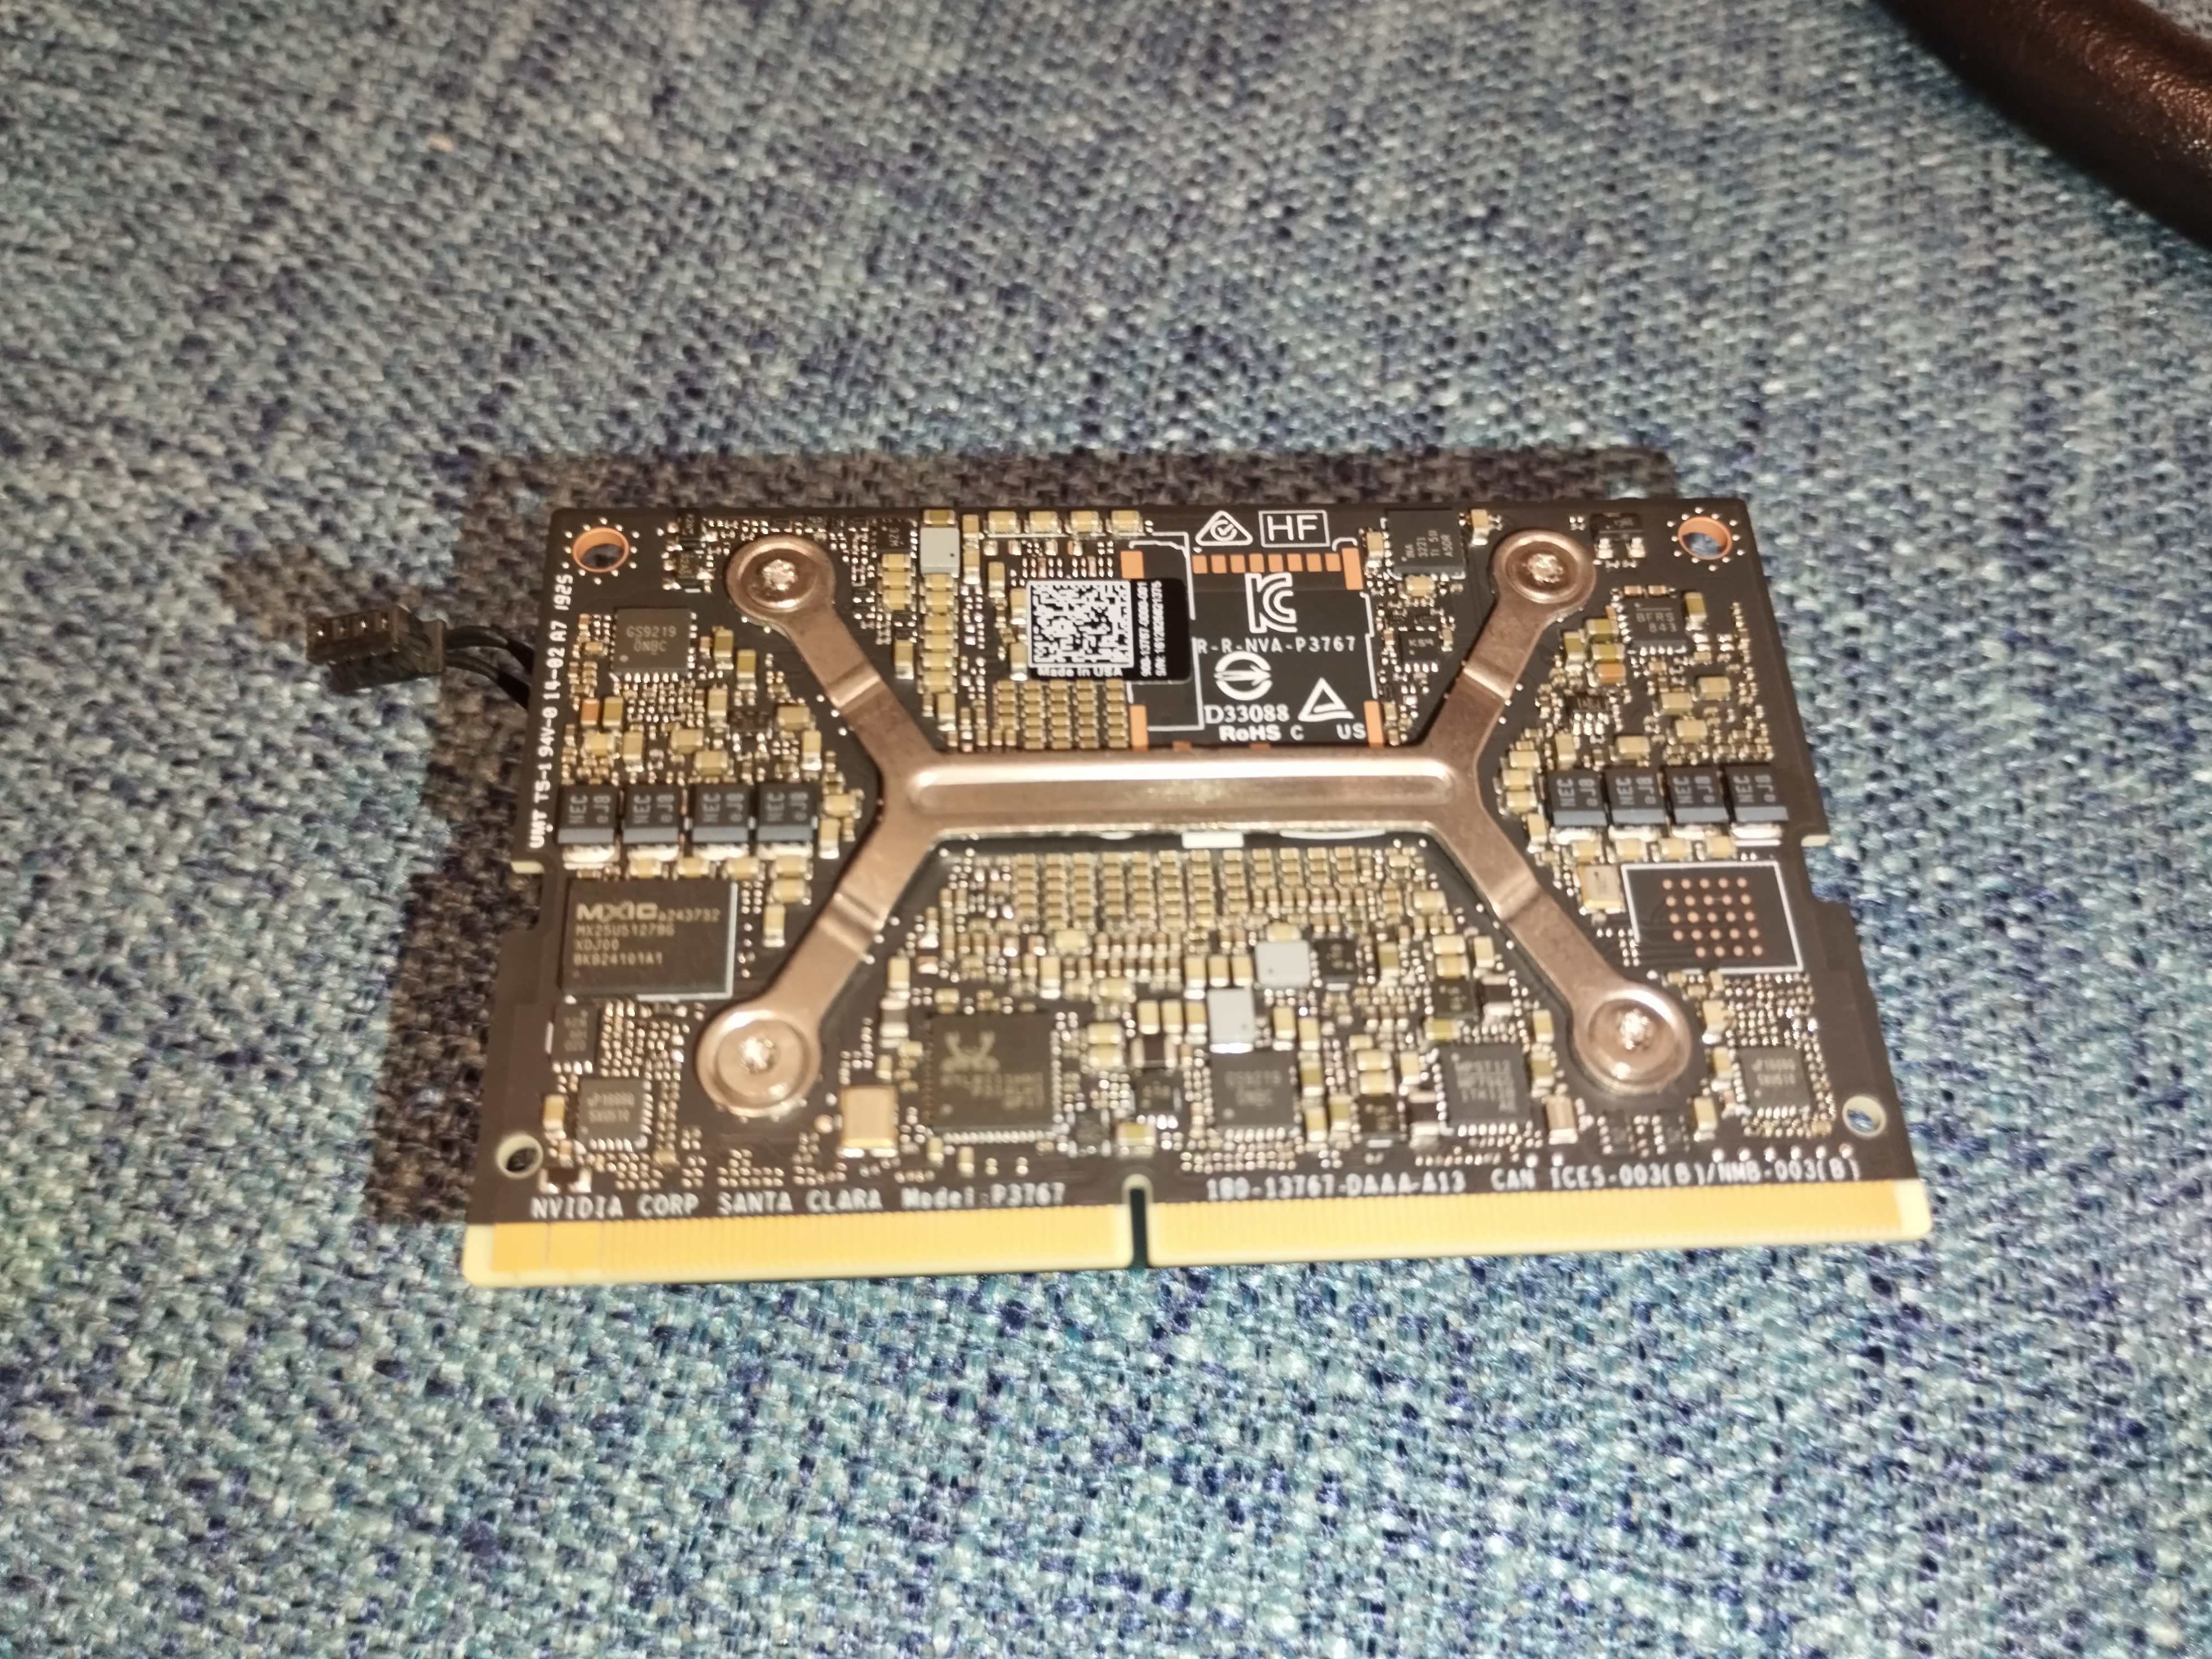
Attach the
>-<shaped bracket and screws.Tip: The bracket is slightly elastic, so tighten diagonal screws halfway first, then tighten all the way.
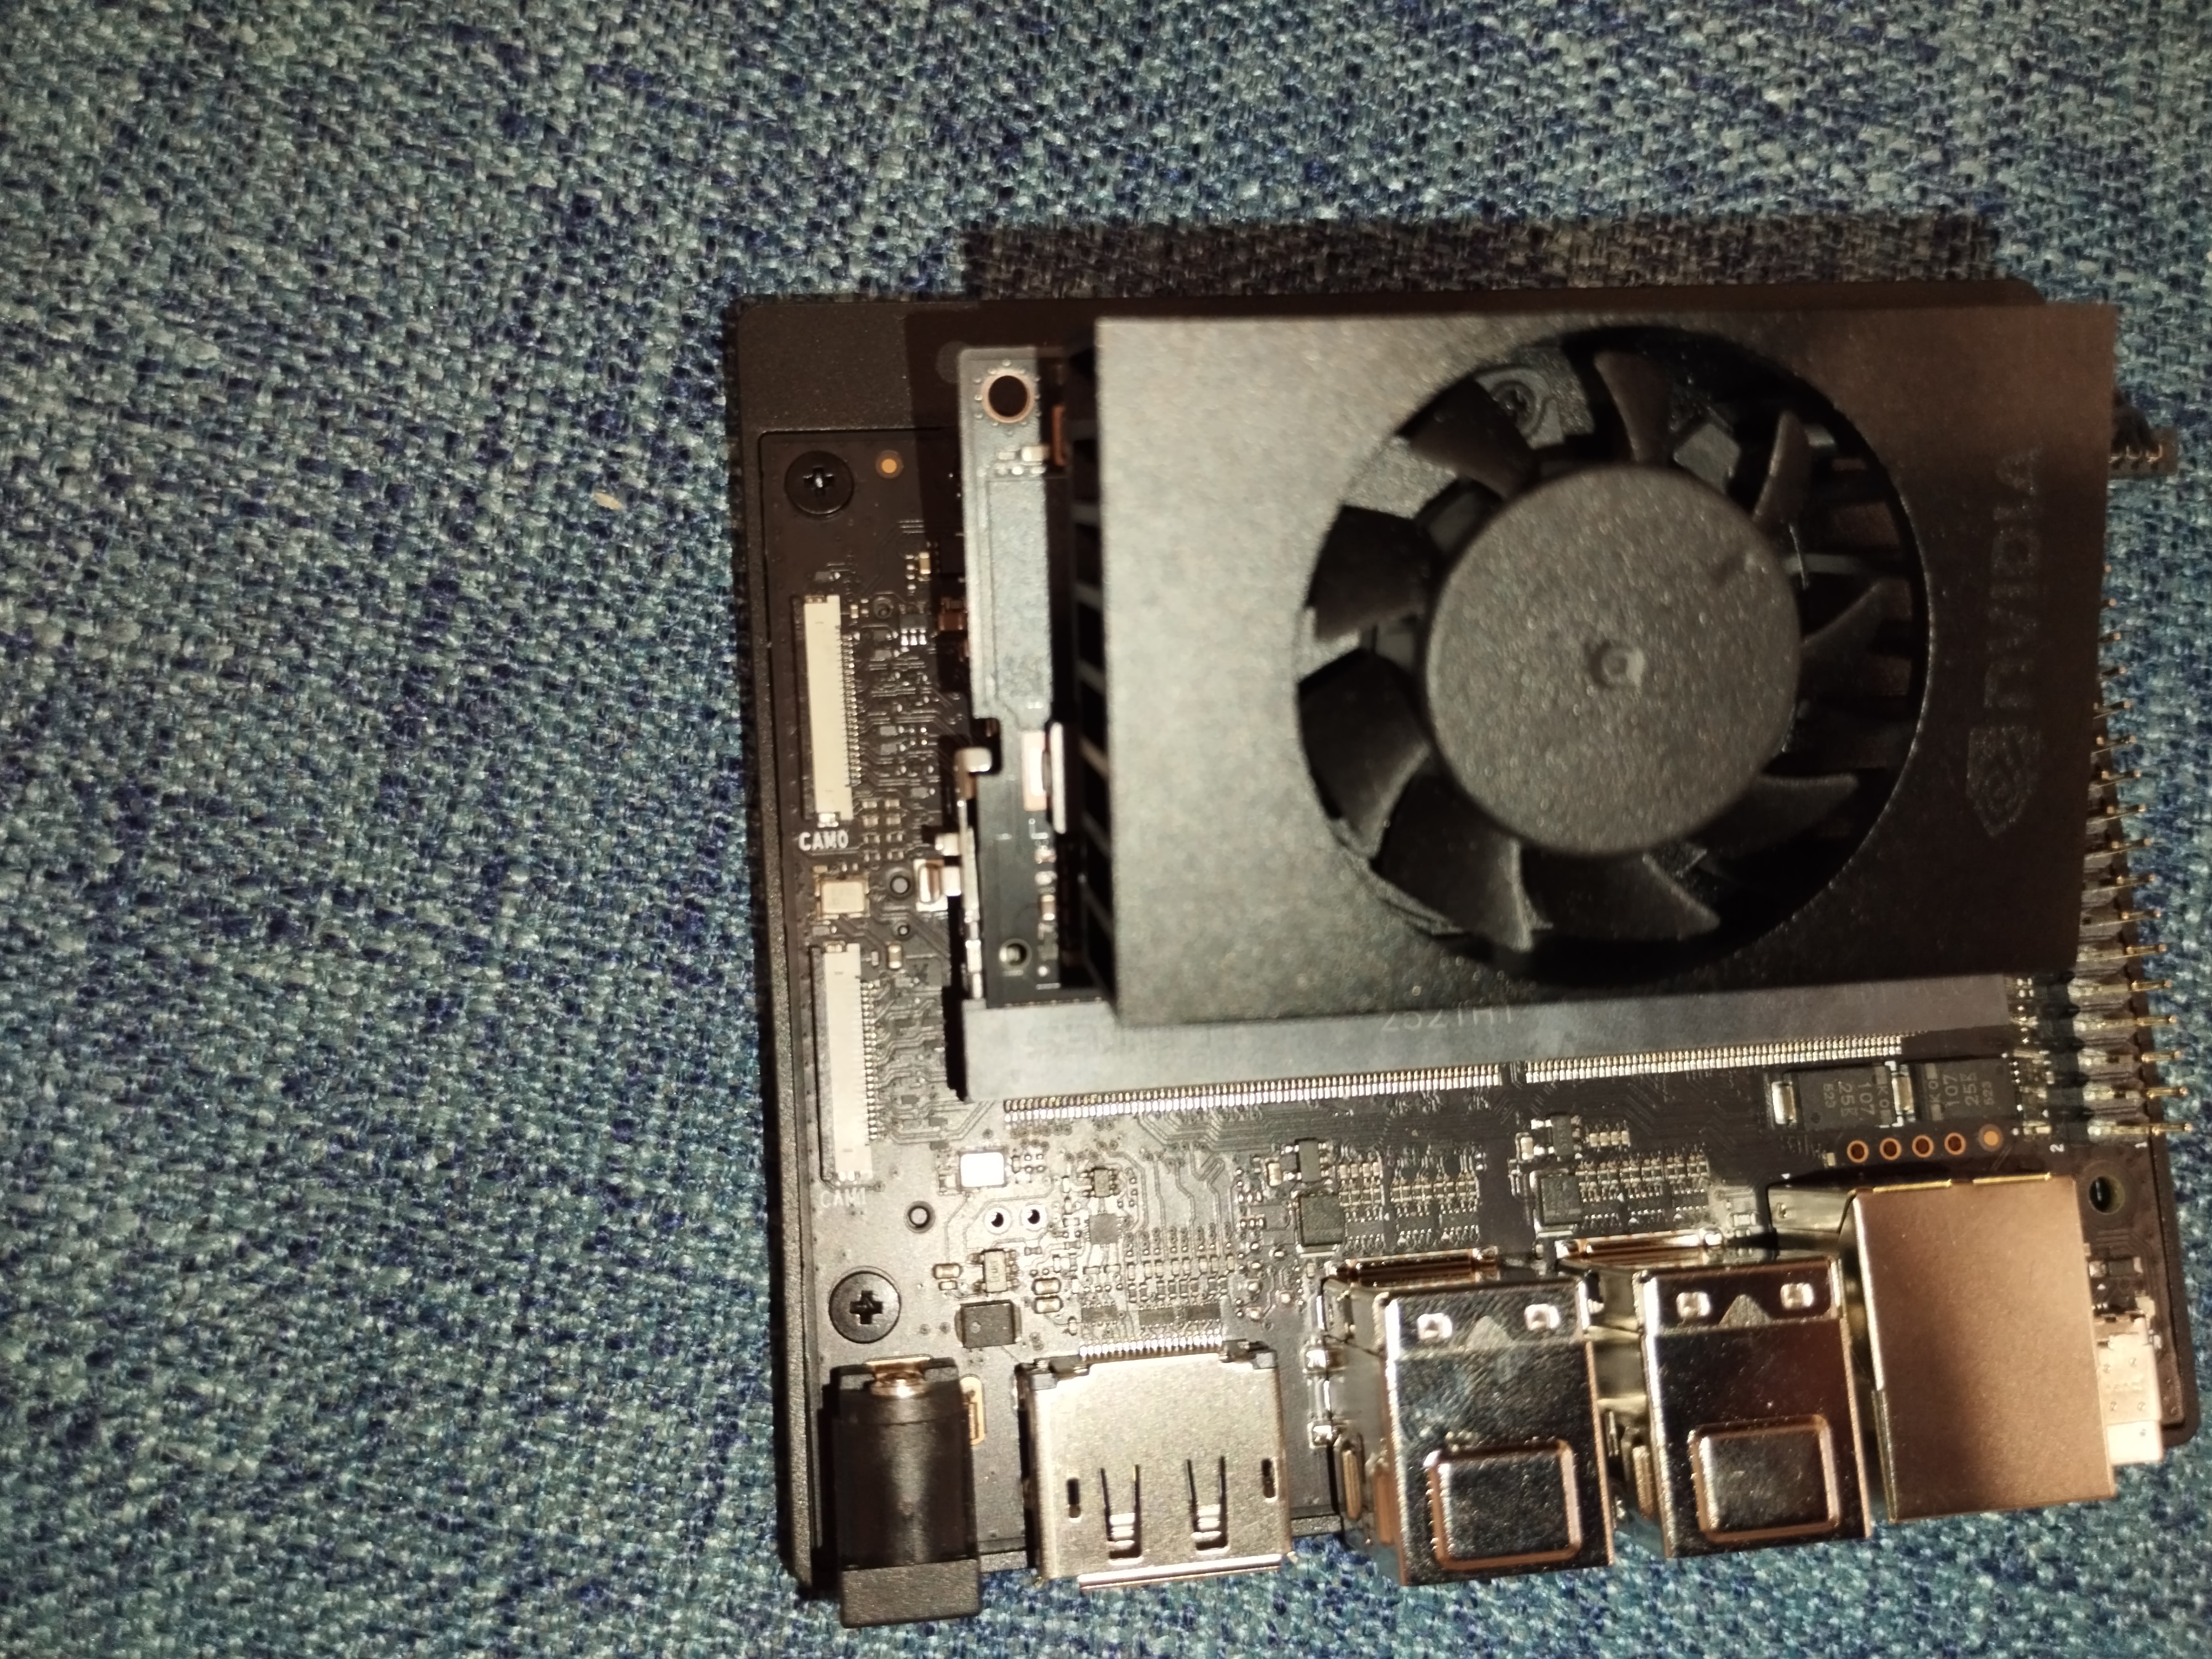
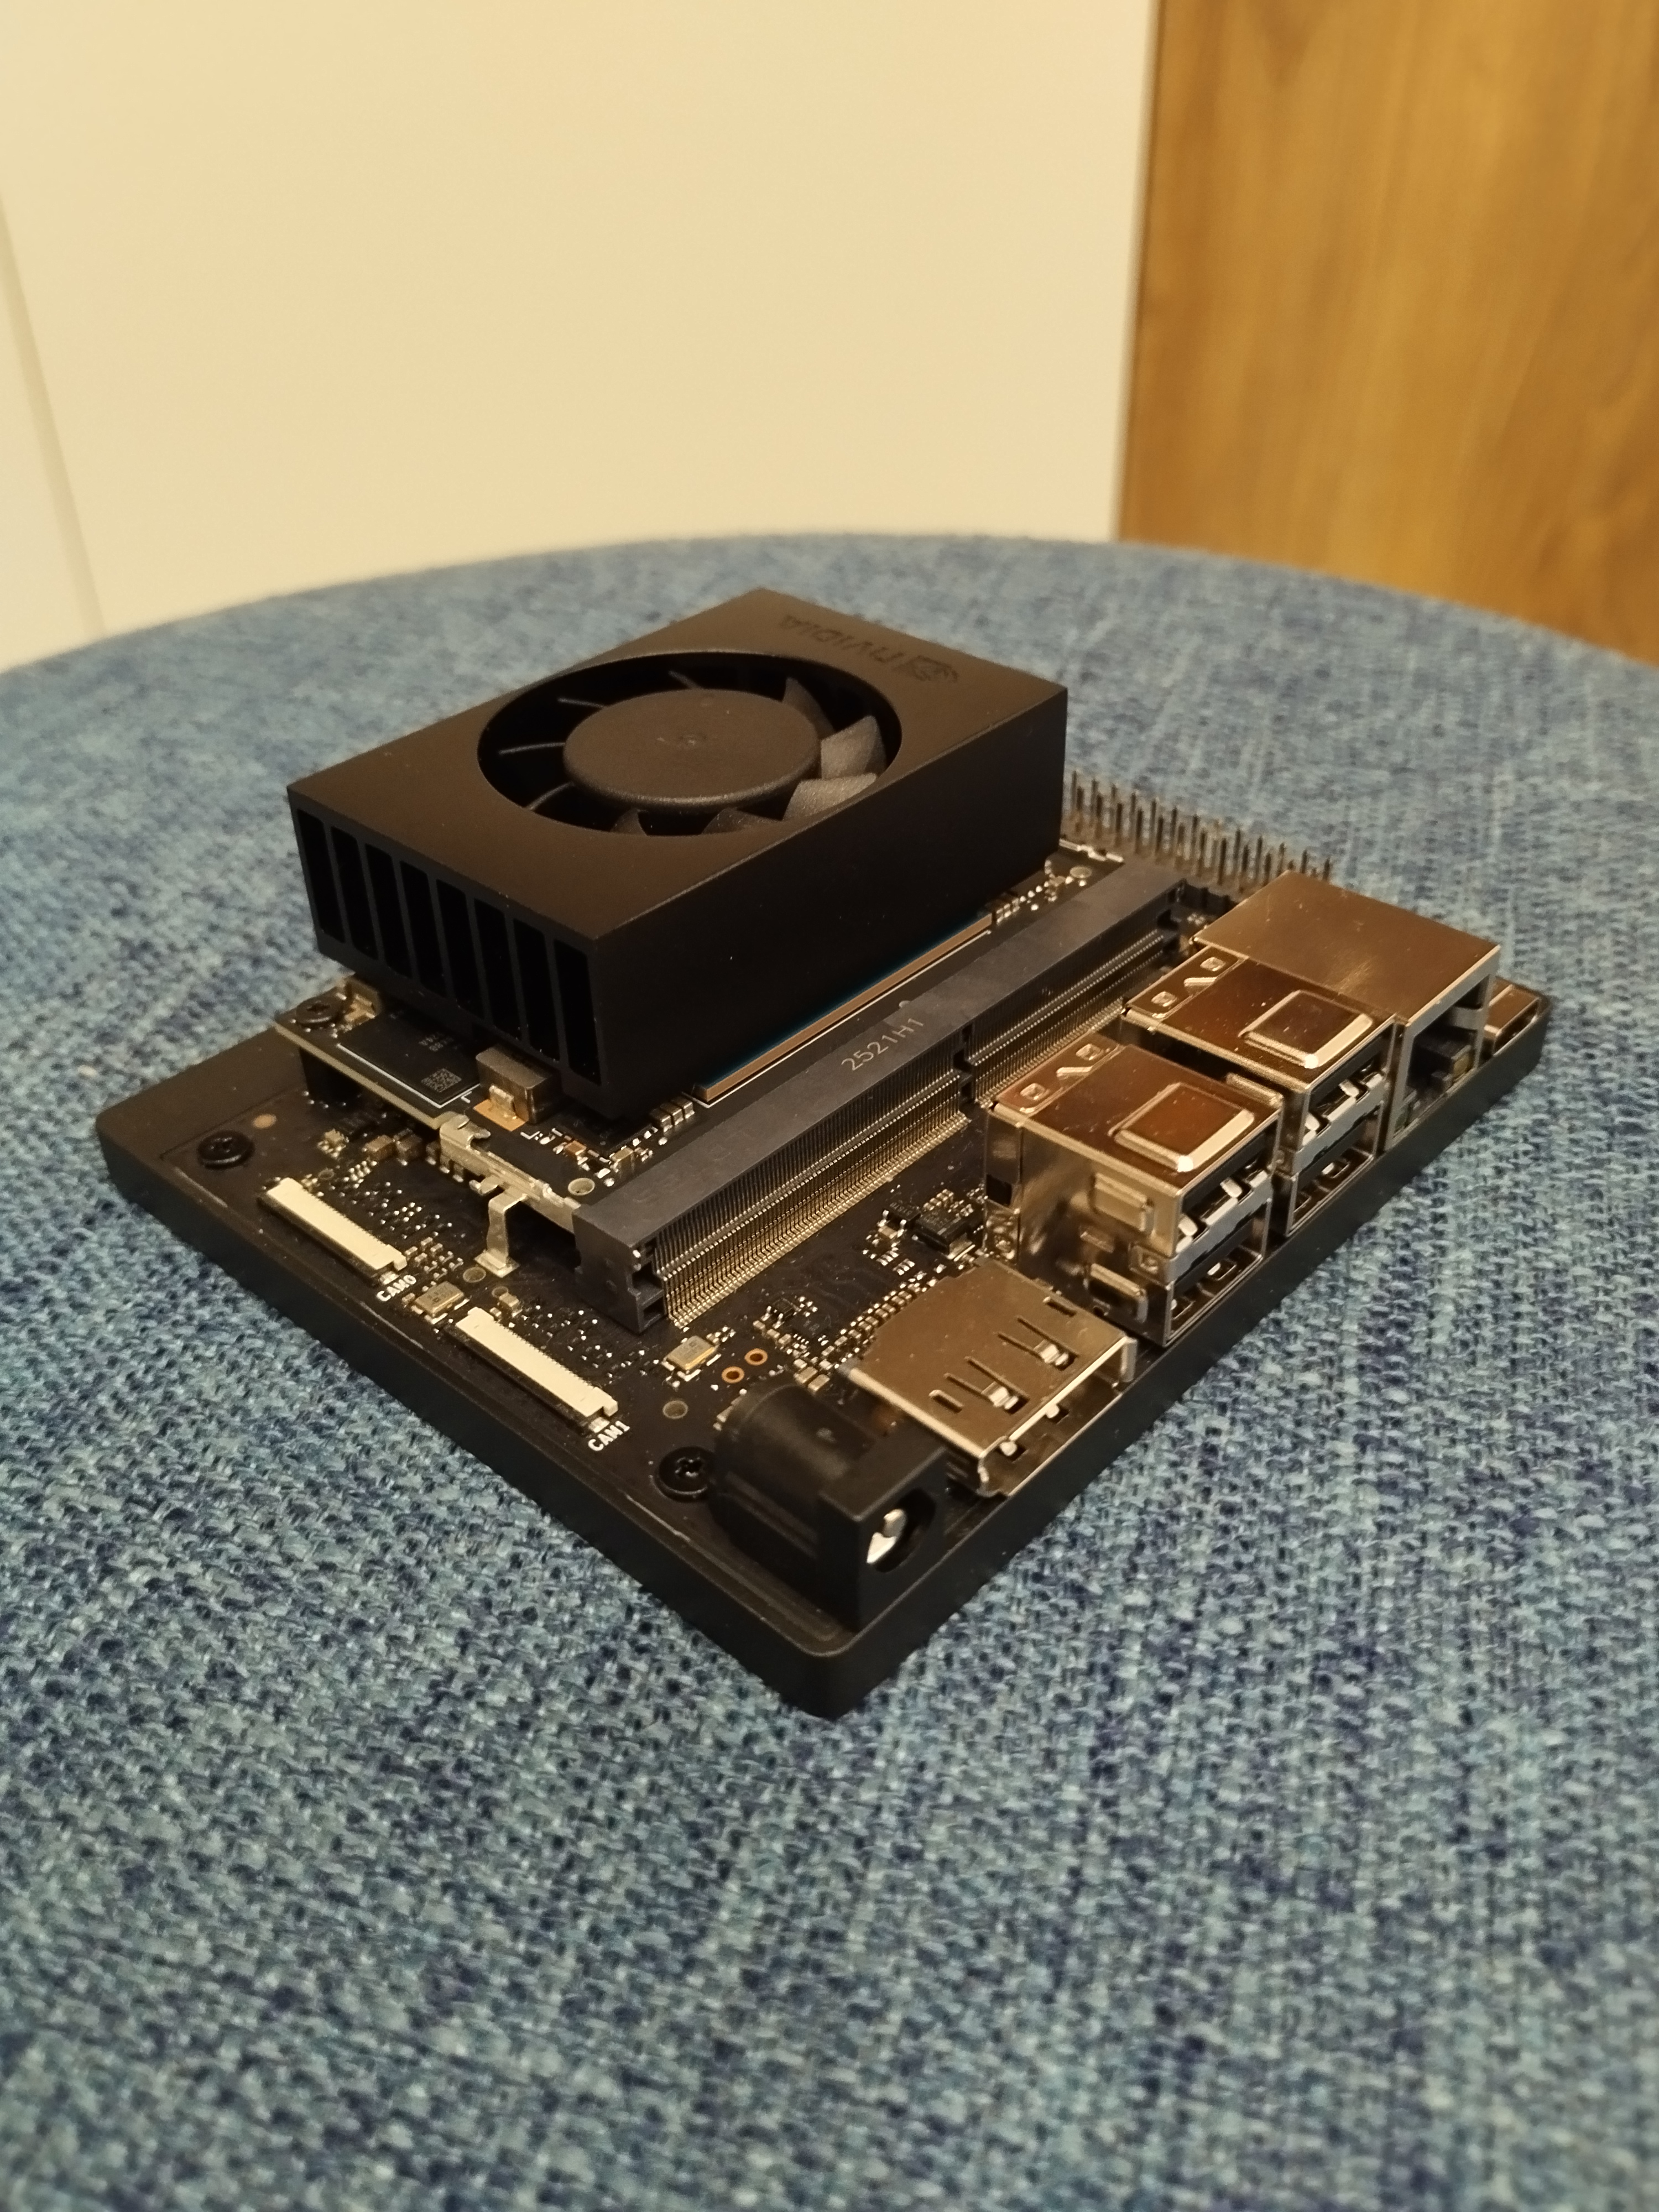
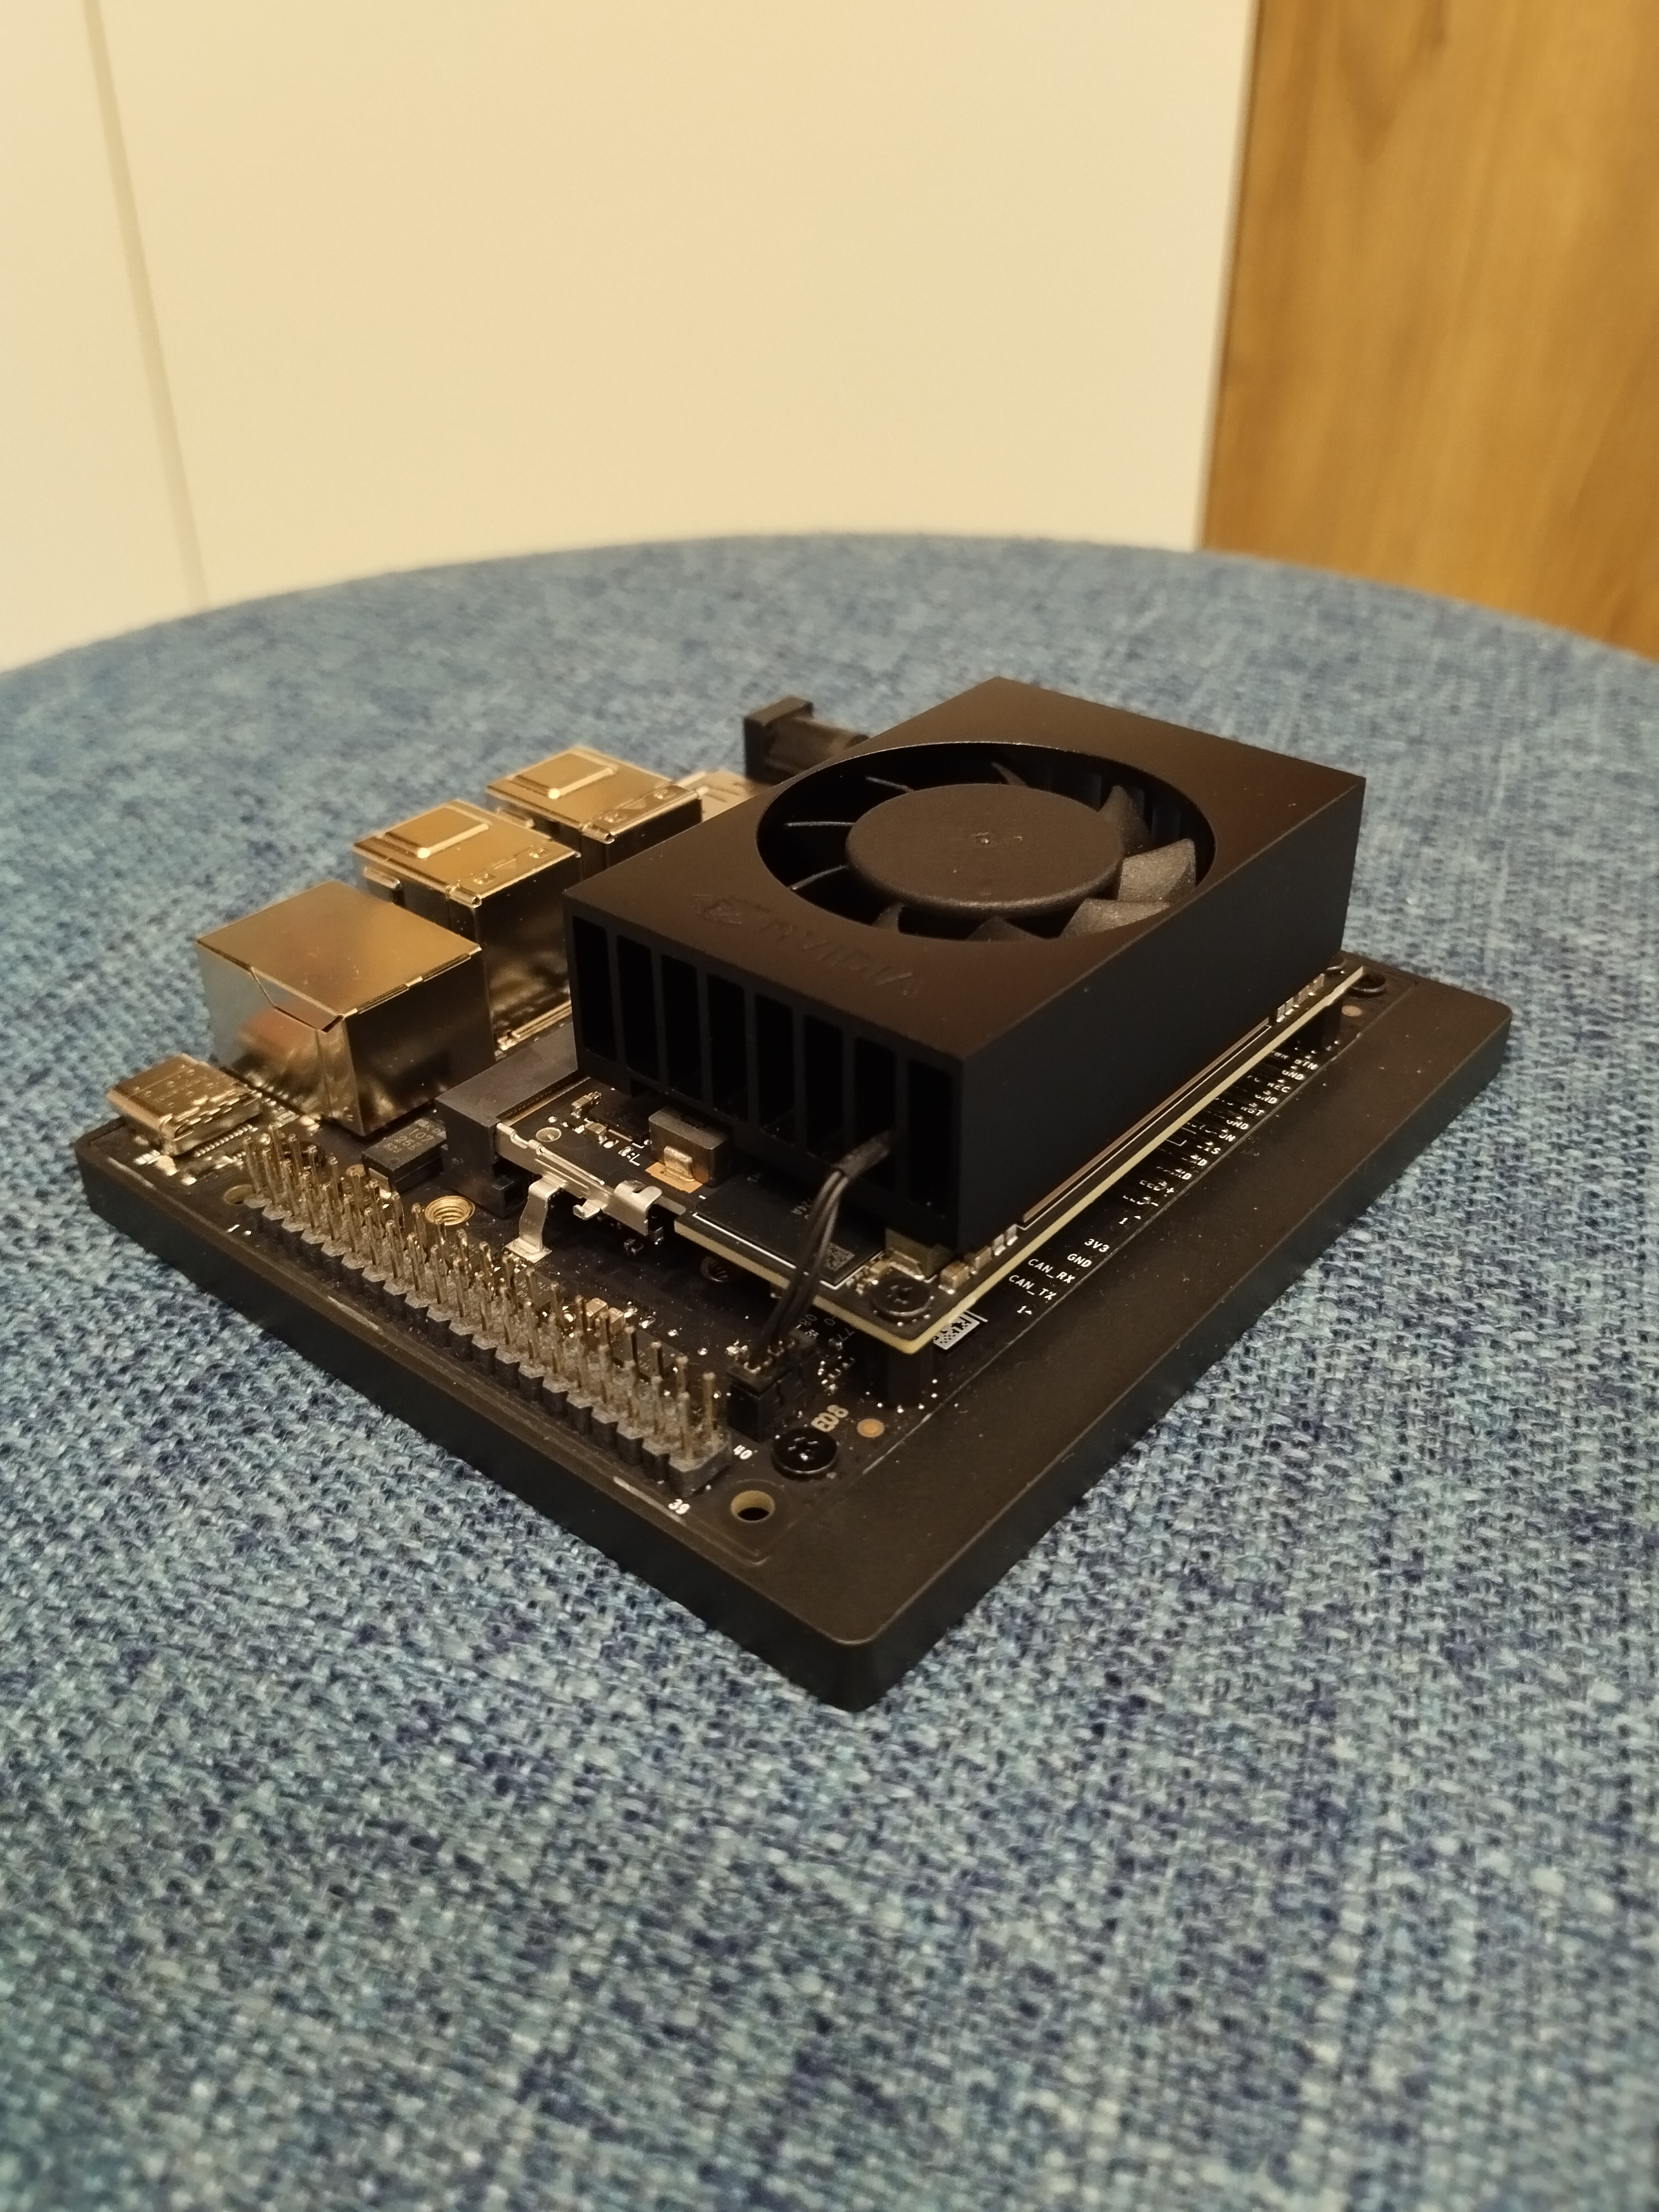
Insert the SOM’s gold fingers into the carrier board. It is designed to tilt upwards before fixing.
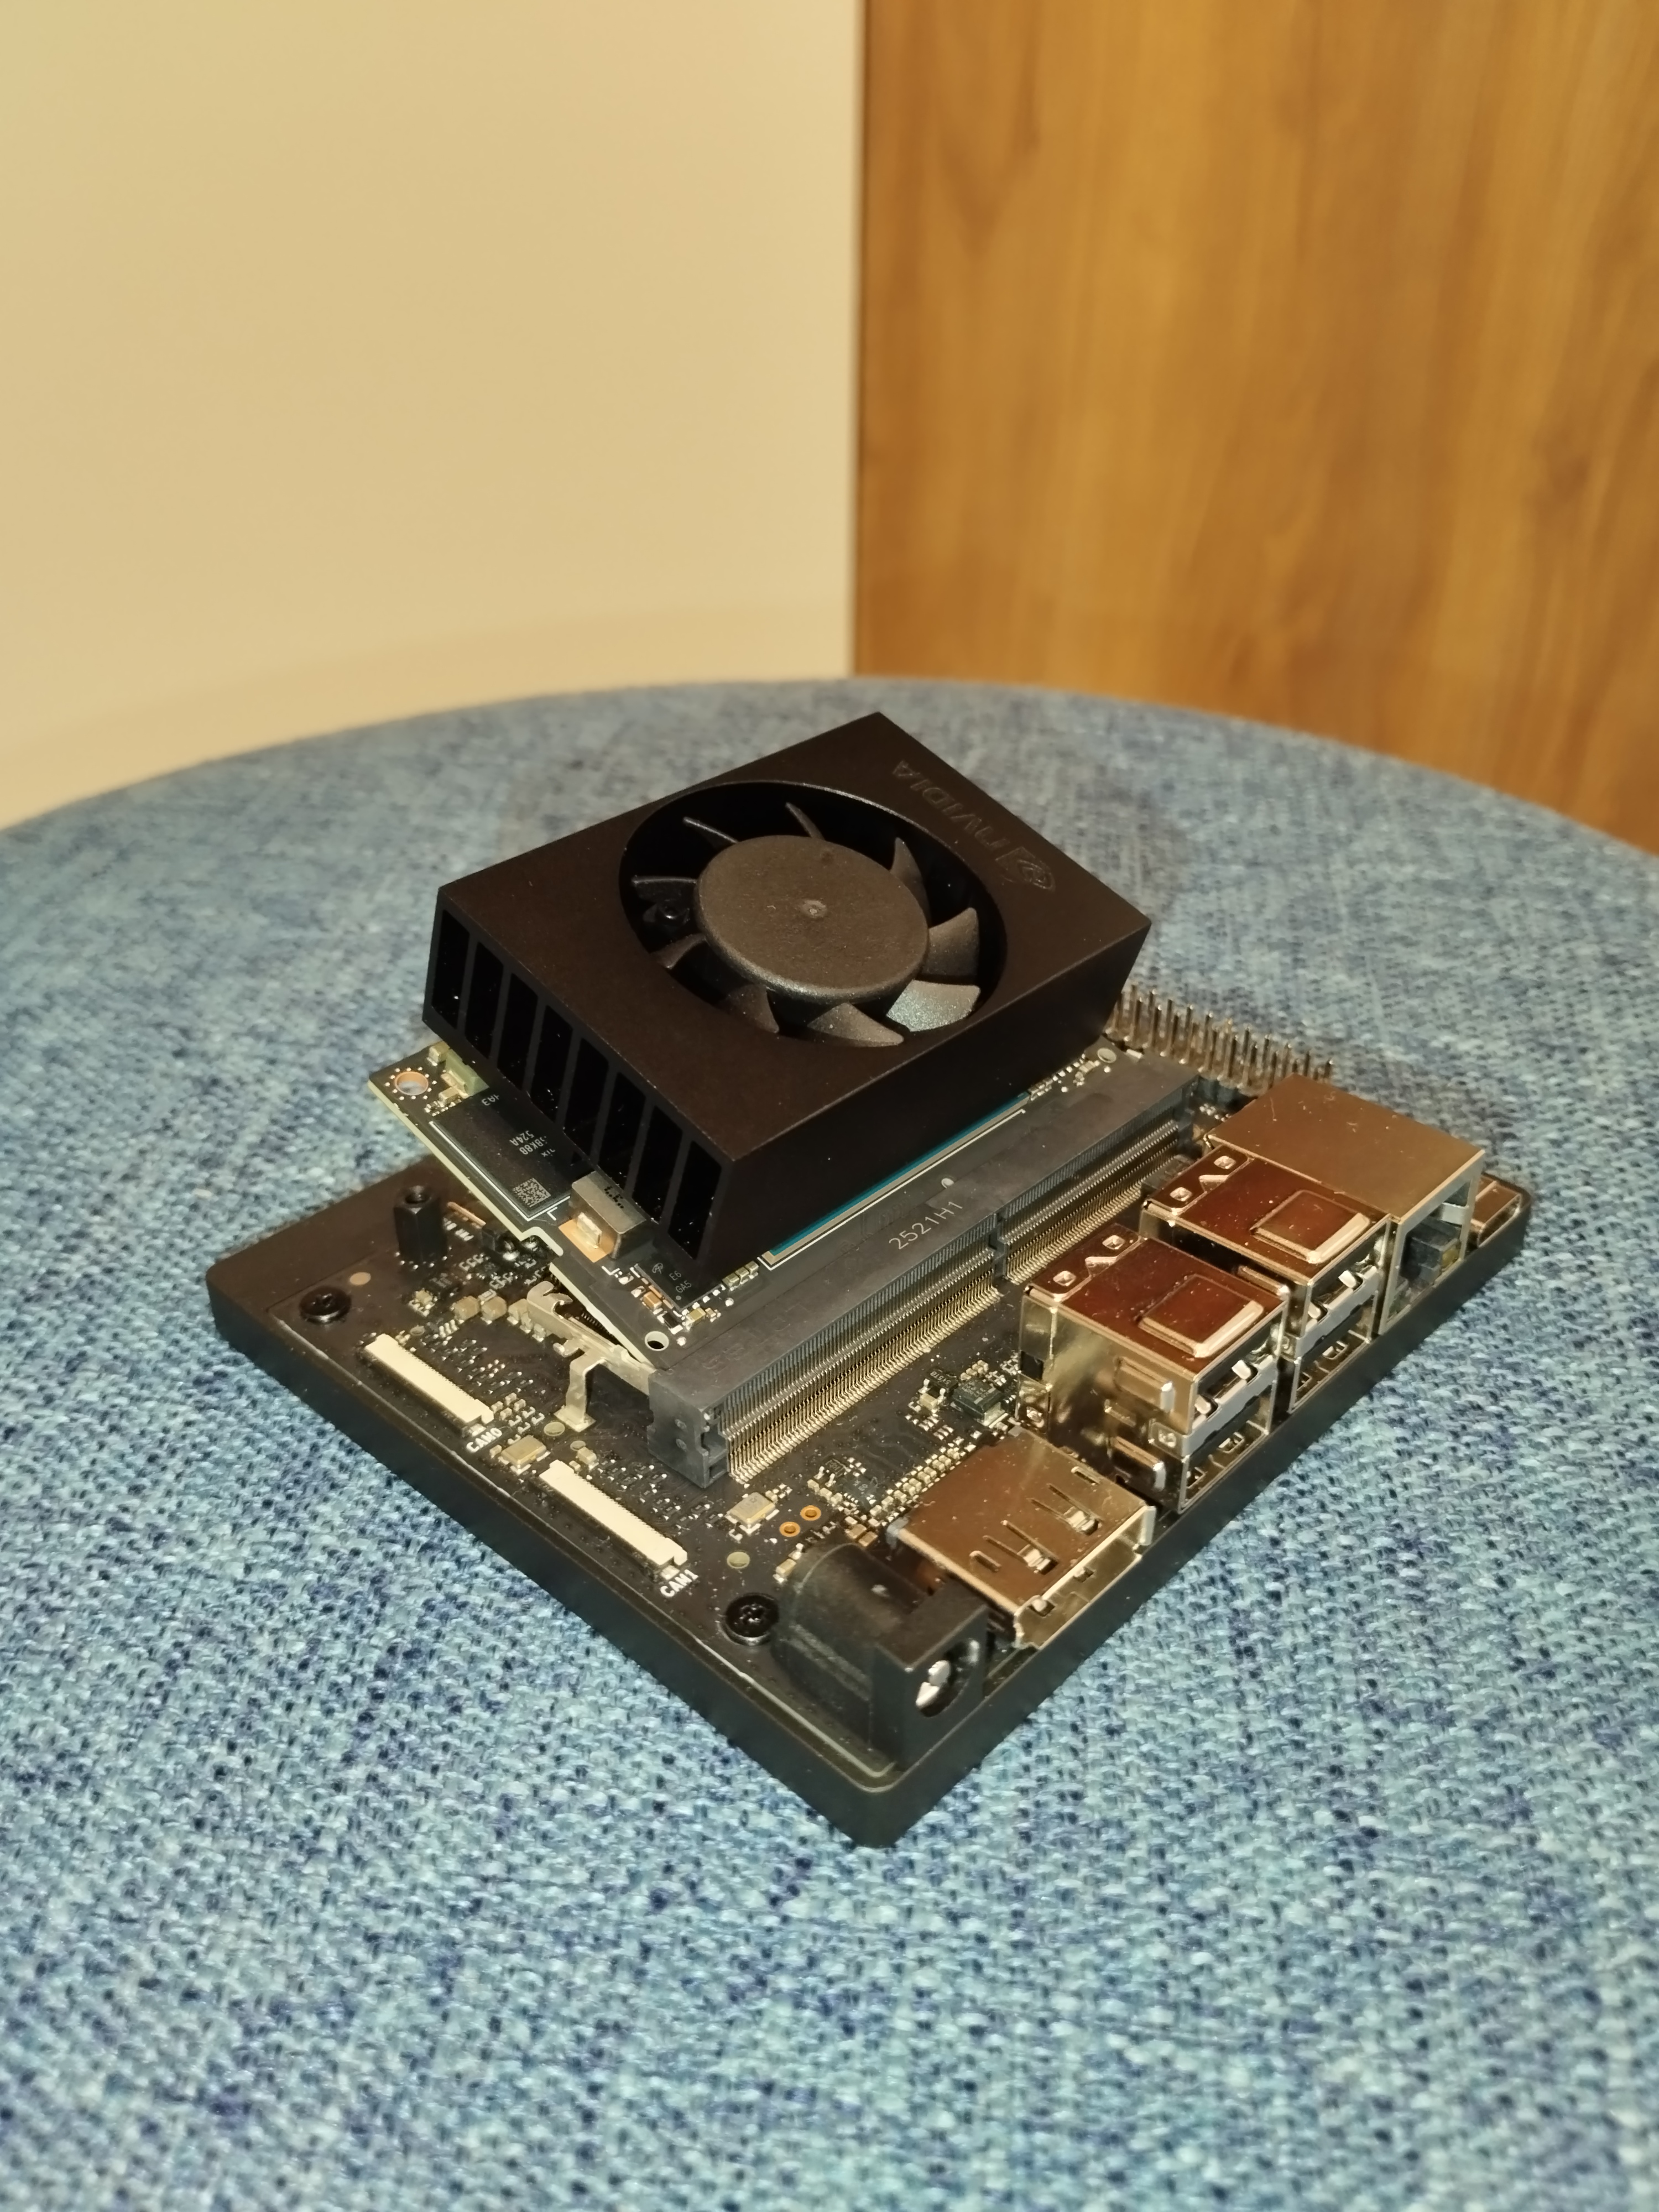
Notice the latches on the left and right.
To lock: Press the SOM down until both latches click.
To unlock: Pull latches outward slightly, and the SOM will pop up.
Locked state:
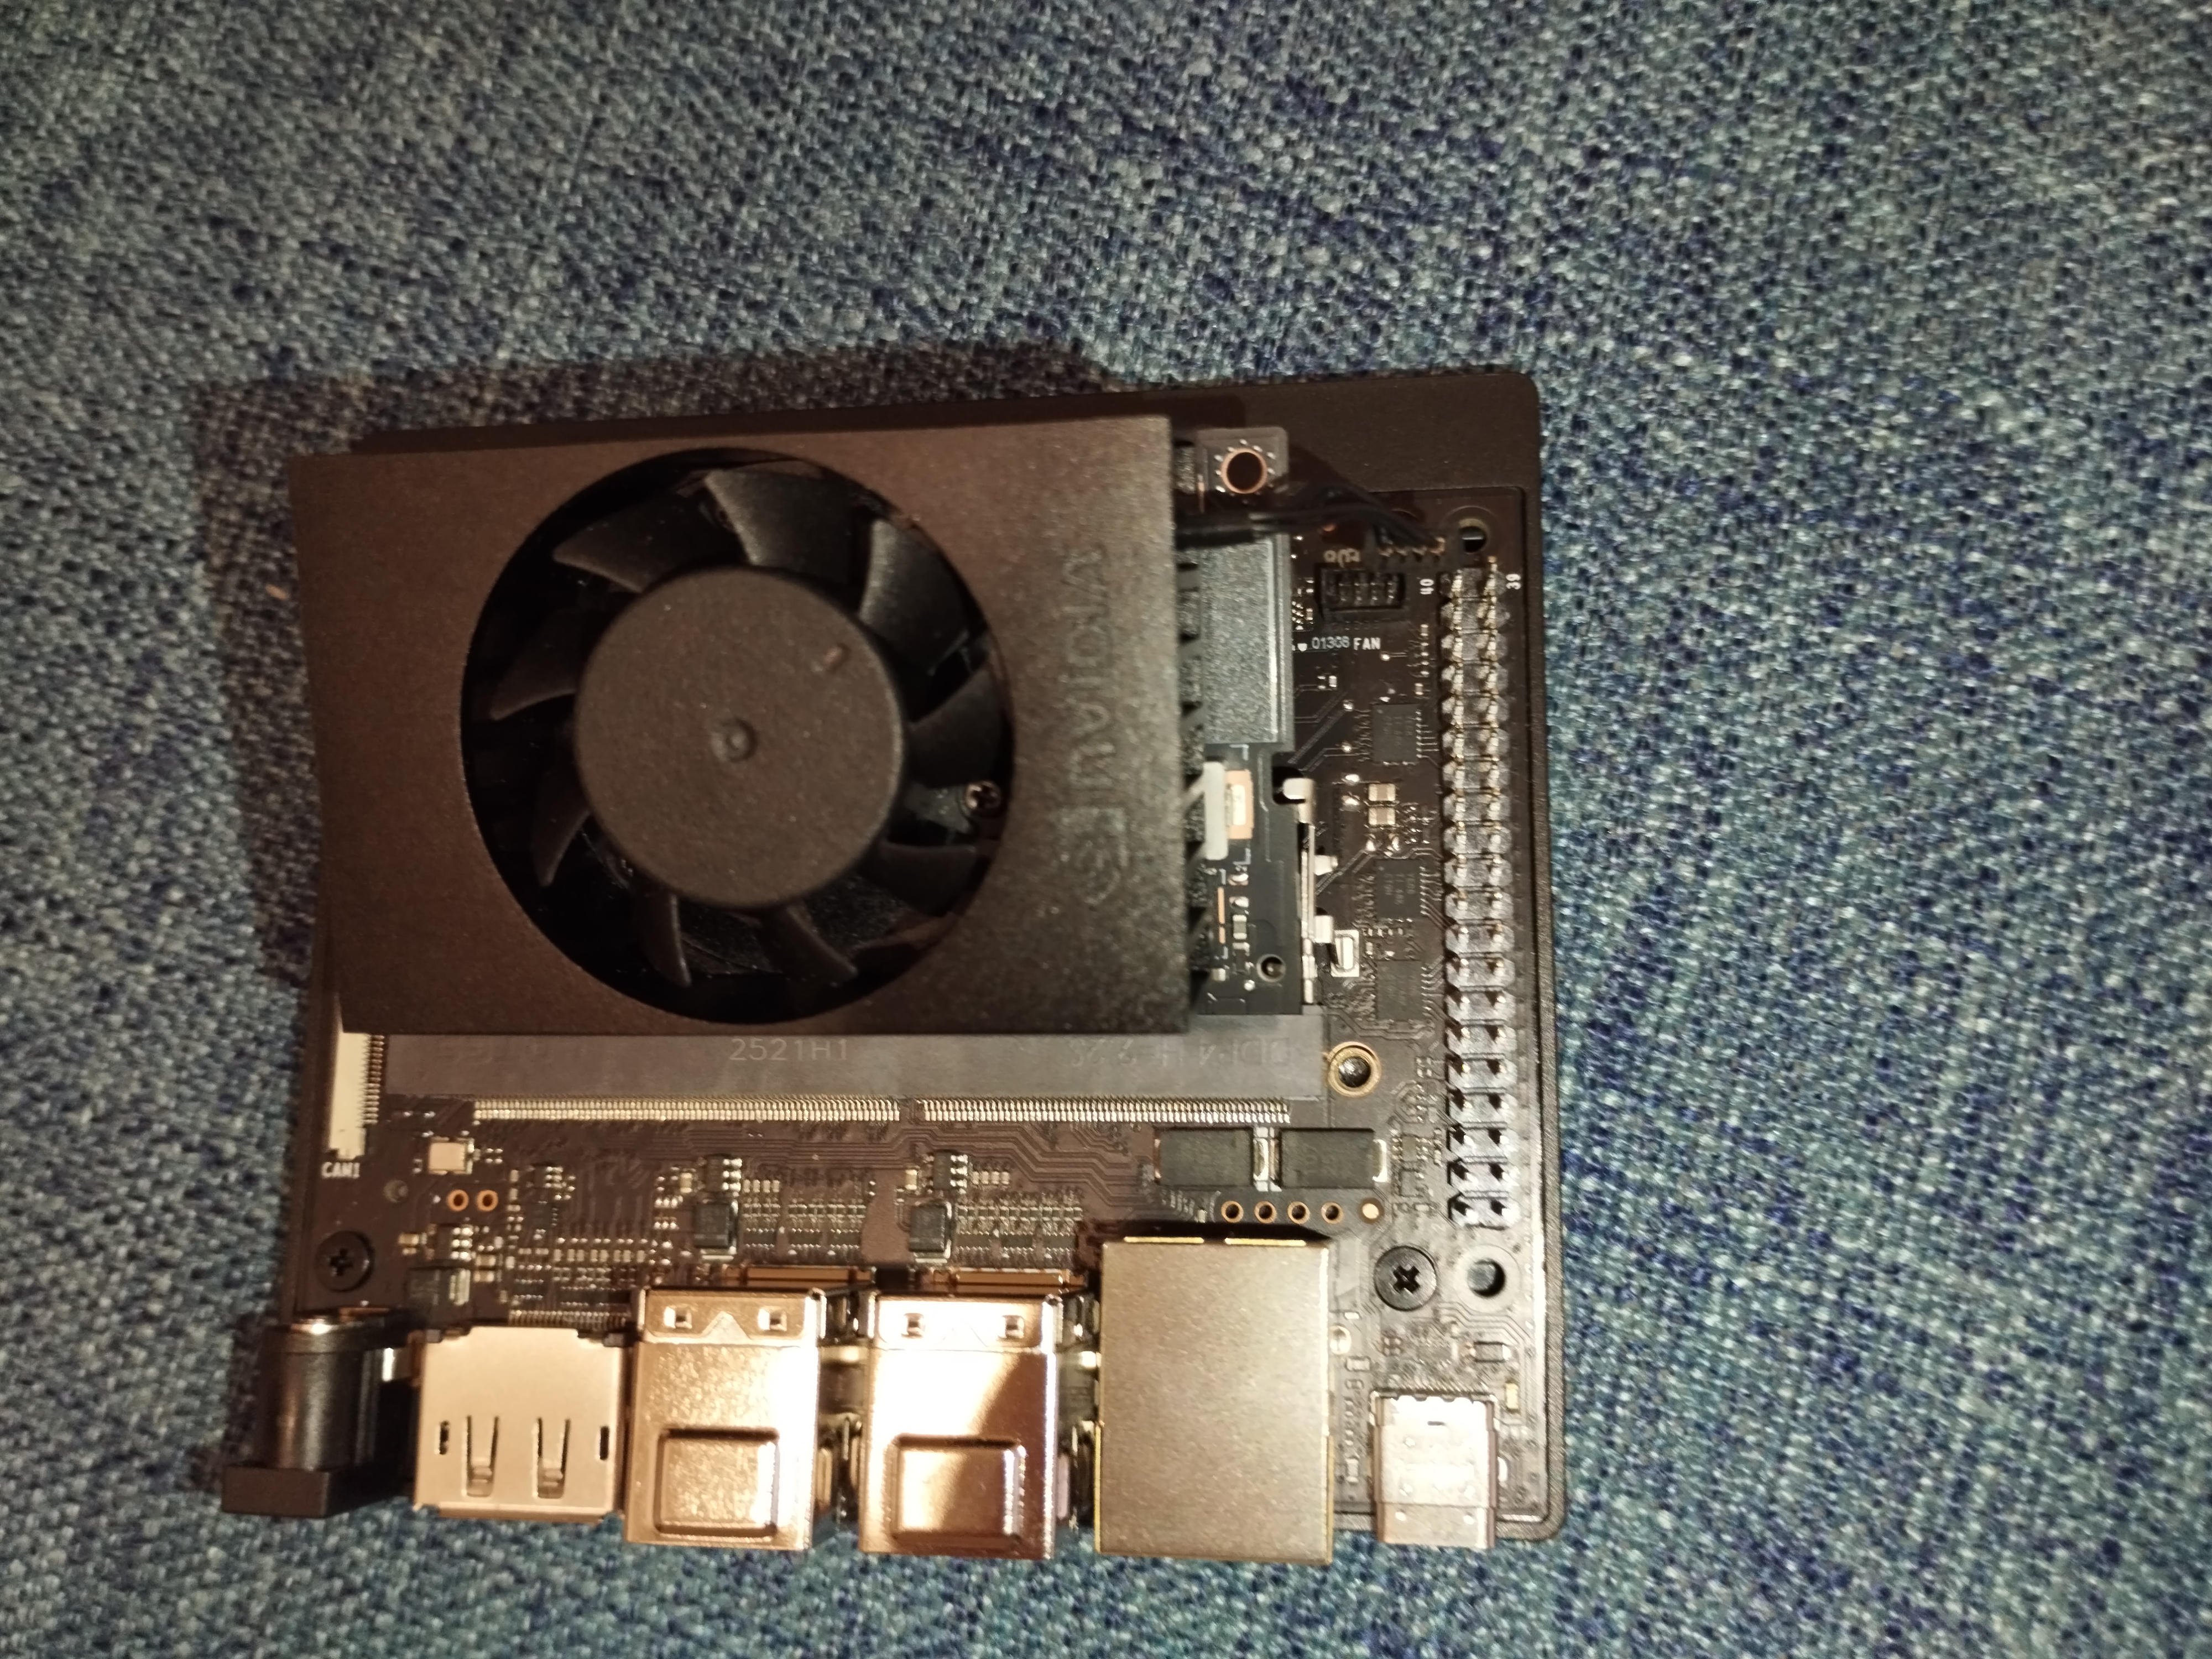
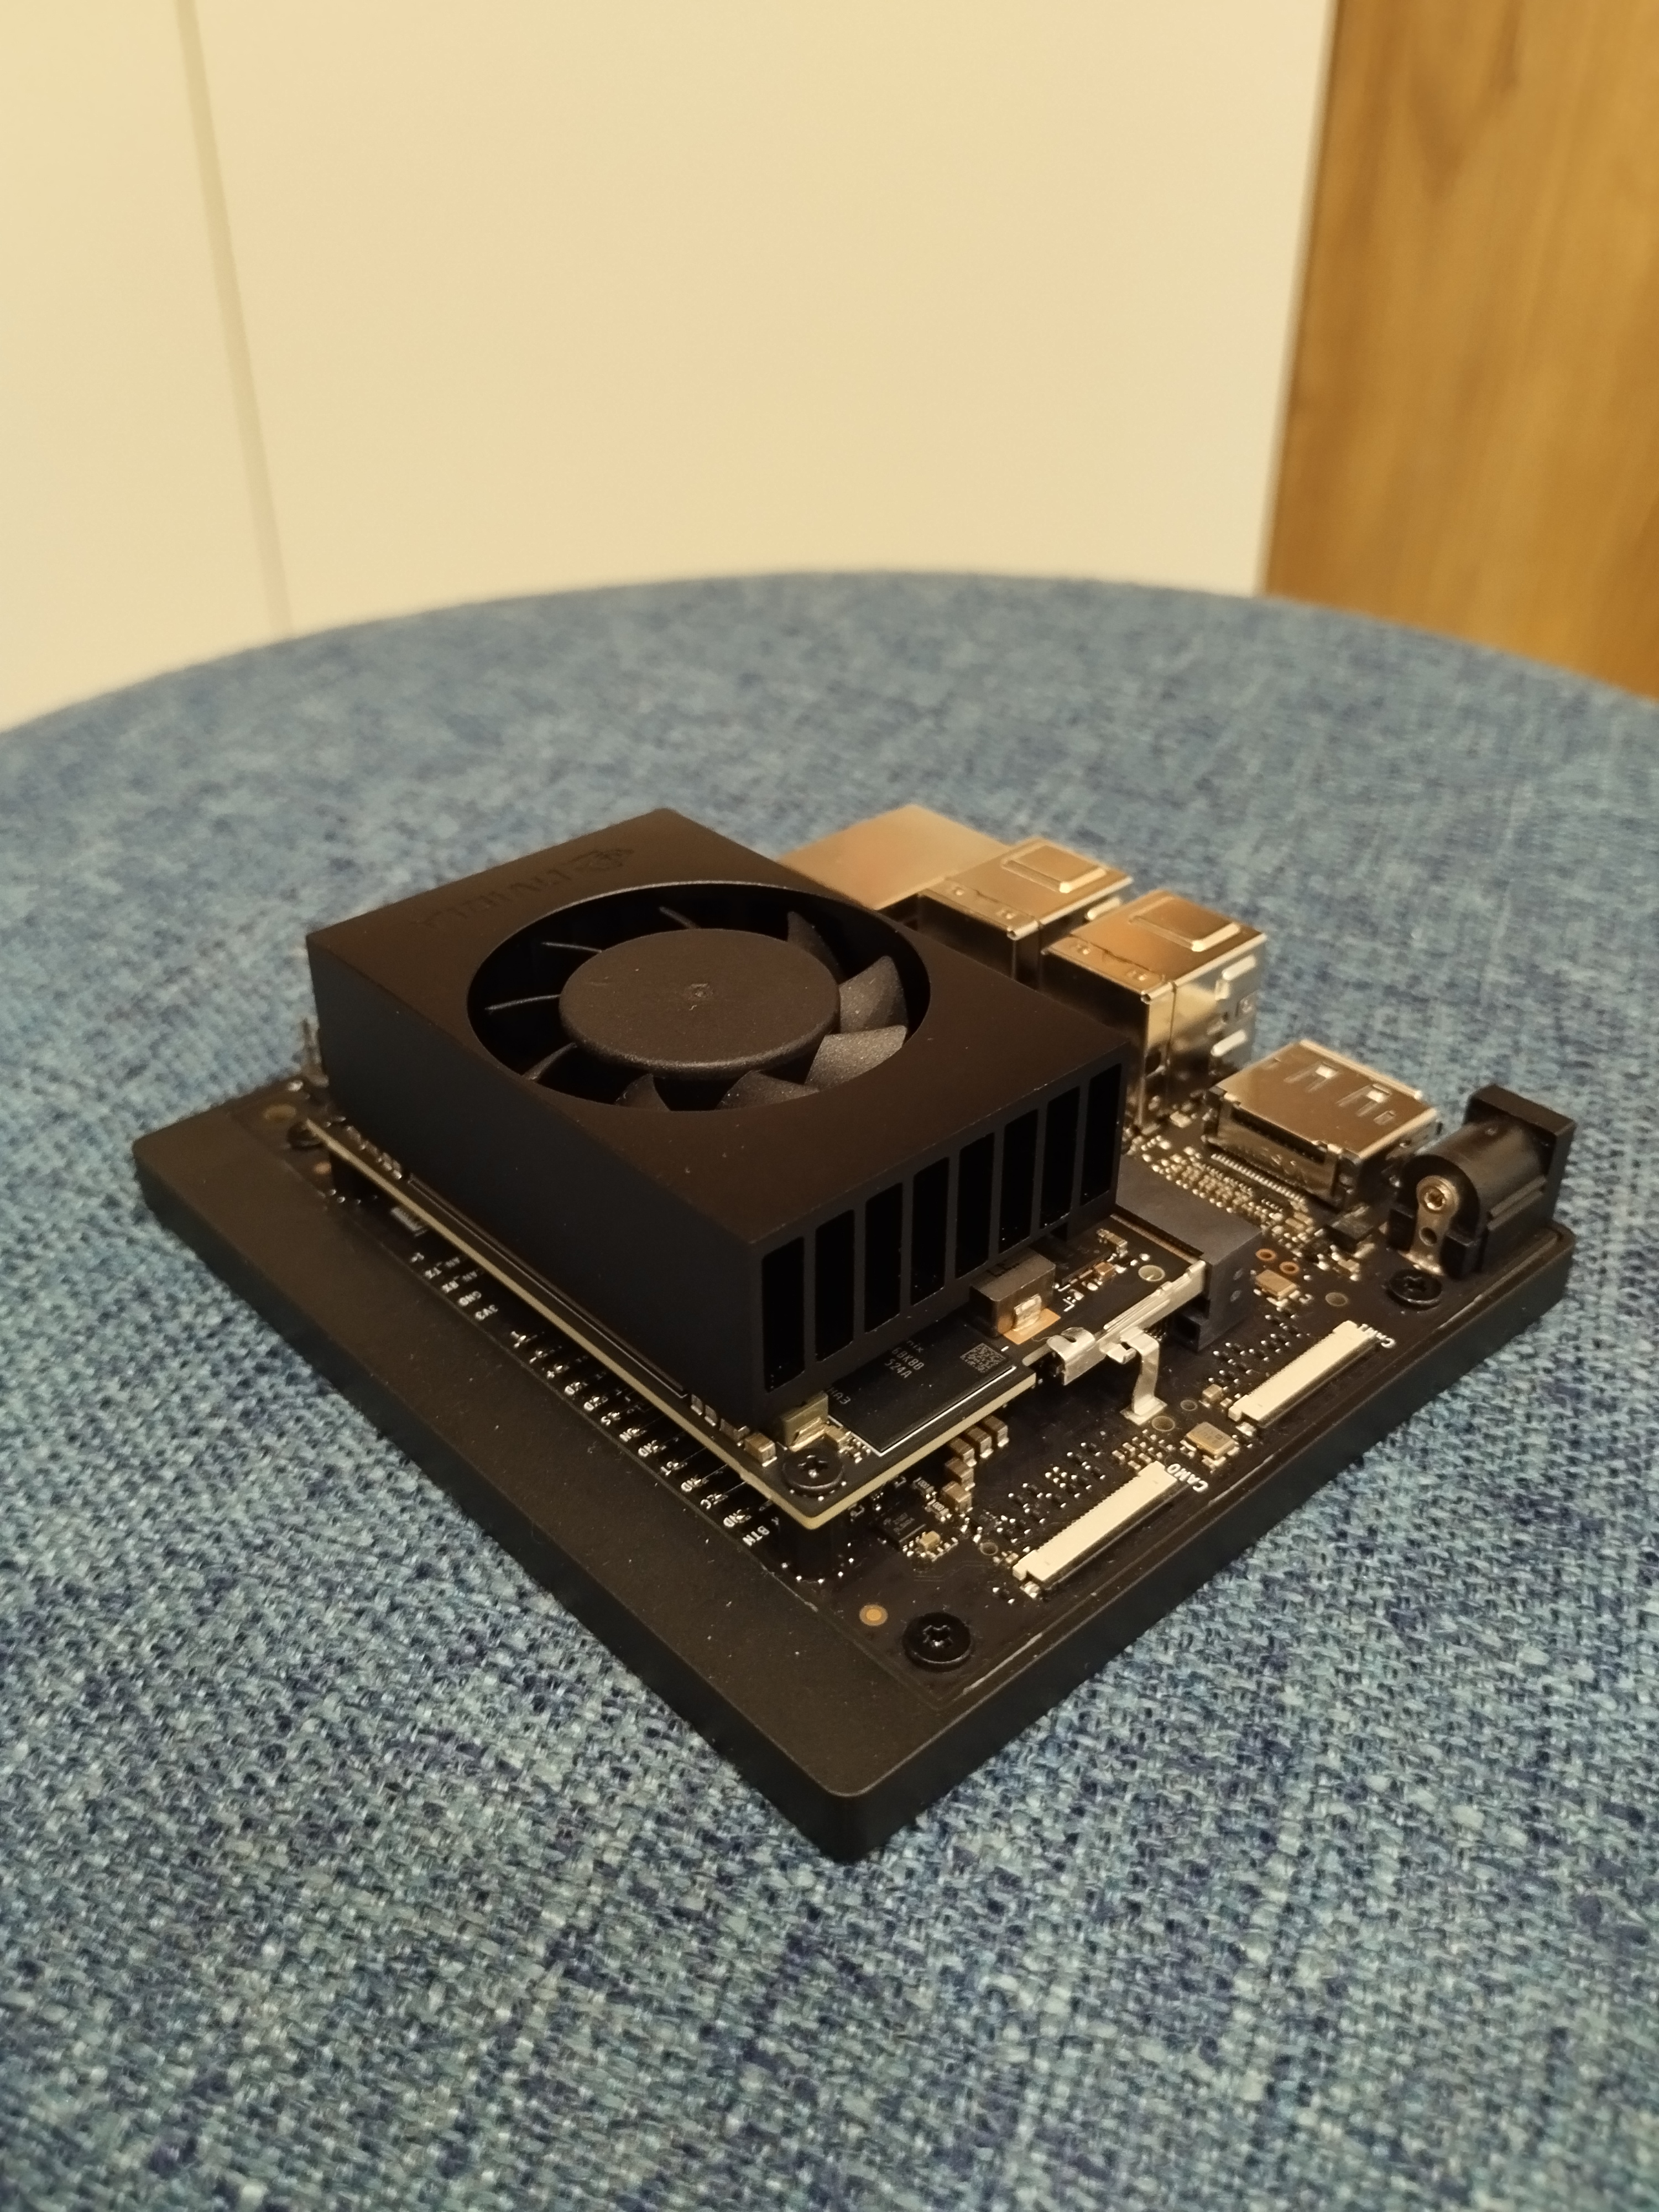
Screw in the screws to secure the SOM.
Tip: If screws don’t go in easily, push the SOM tighter into the slot and press it down closer to the screw posts.
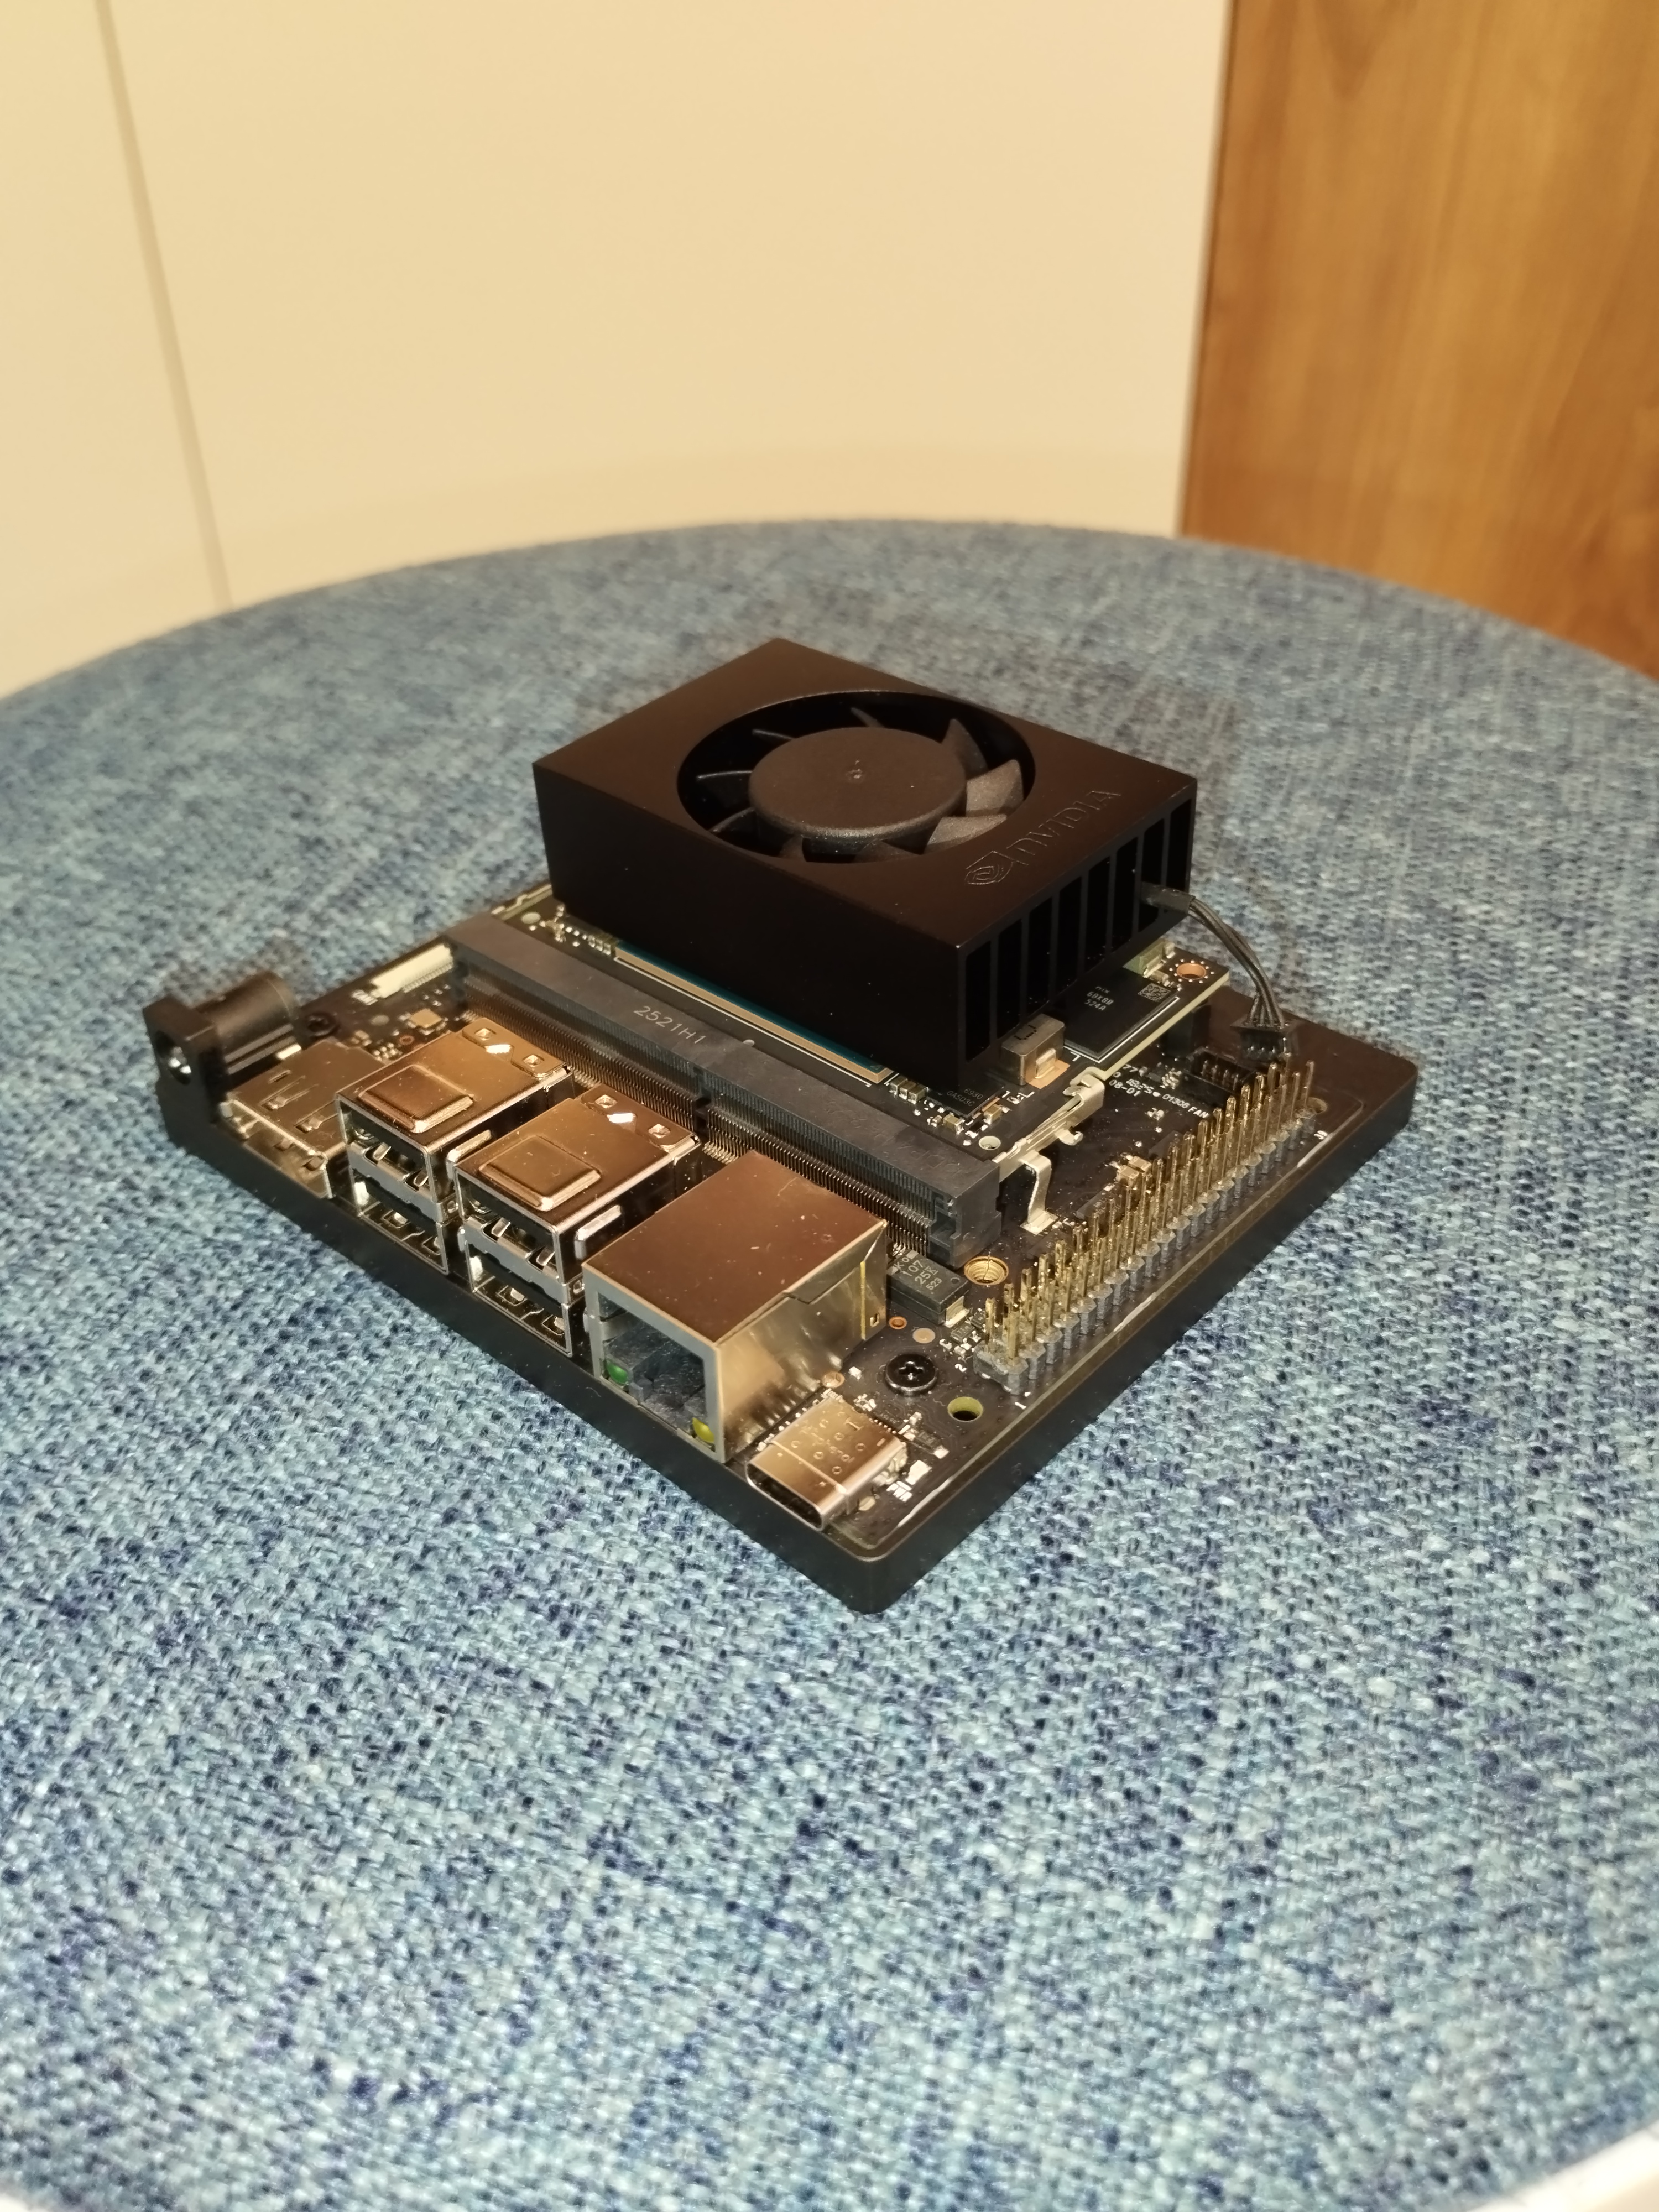
Plug the fan cable back in. Done!
Contribution Log
Operator & Author: Kevin Pan (@XiaoPanPanKevinPan)